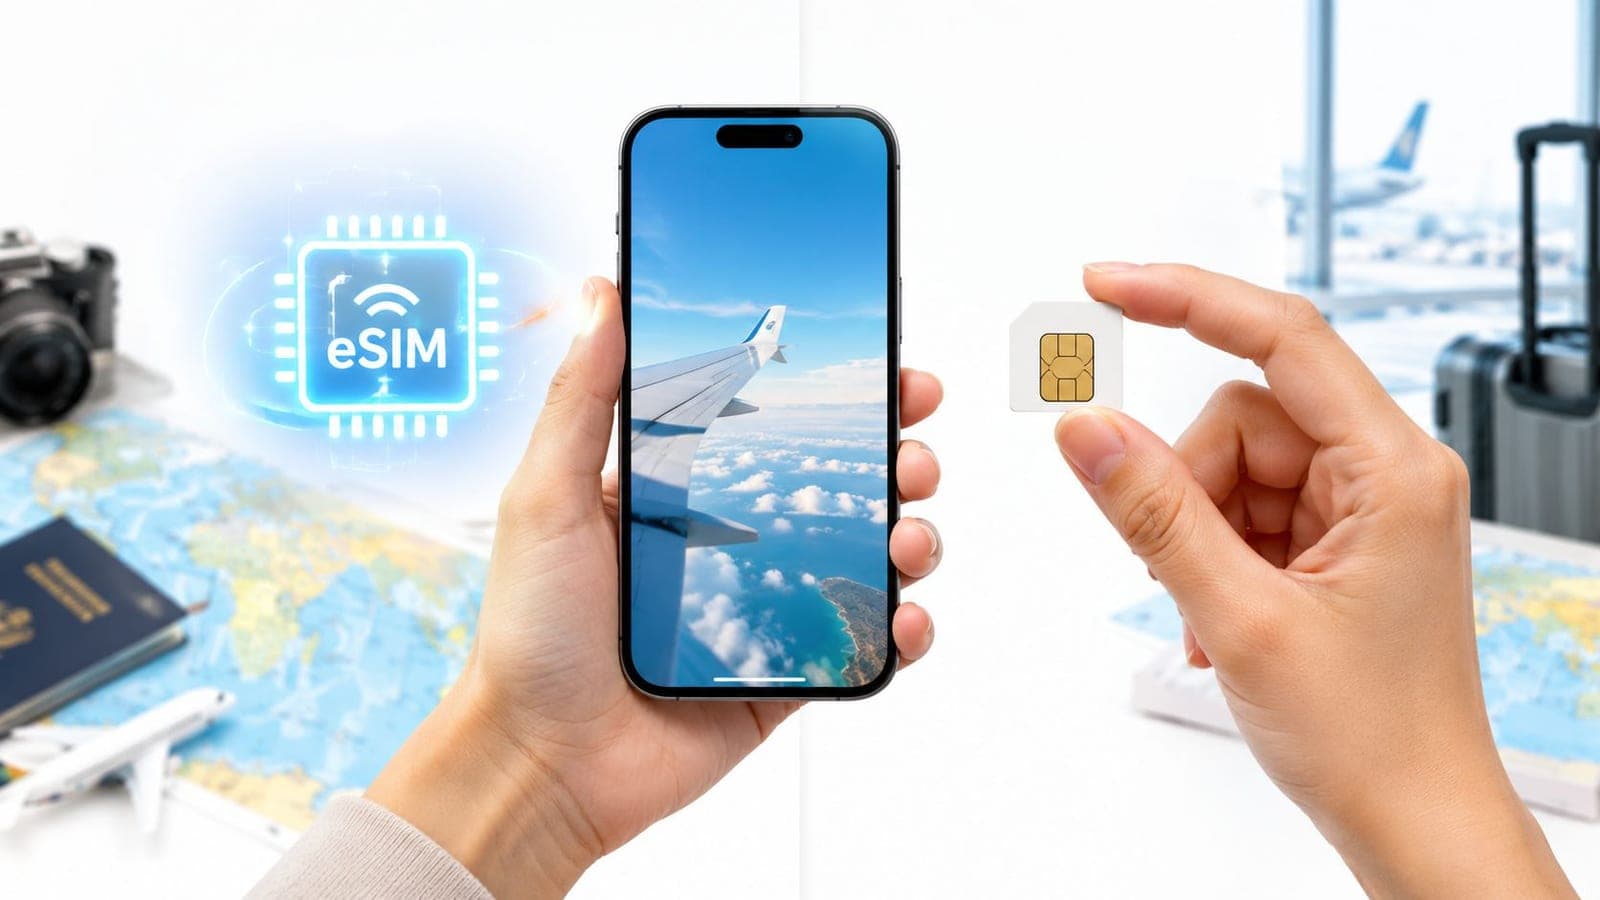
You're staring at the confirmation email, the code is right there, and the phone still isn't connecting. That's the normal eSIM pain point, not a failure of the plan. The esim qr code only works when the device, the screen, and the activation flow line up properly, and travelers lose time when they treat it like a normal photo scan.
The fix is simple: use the phone's eSIM settings, not the camera app, and understand the few redemption traps that break installation. The QR code is a pointer into the carrier's provisioning system, not the eSIM itself, so the scan has to happen inside the right menu and with a working data connection. GSMA's consumer Remote SIM Provisioning model uses a QR activation voucher to direct the device to the correct server, and the QR payload is a structured activation code rather than a generic image GSMA SGP.22.
Scanning Your eSIM QR Code Through Settings
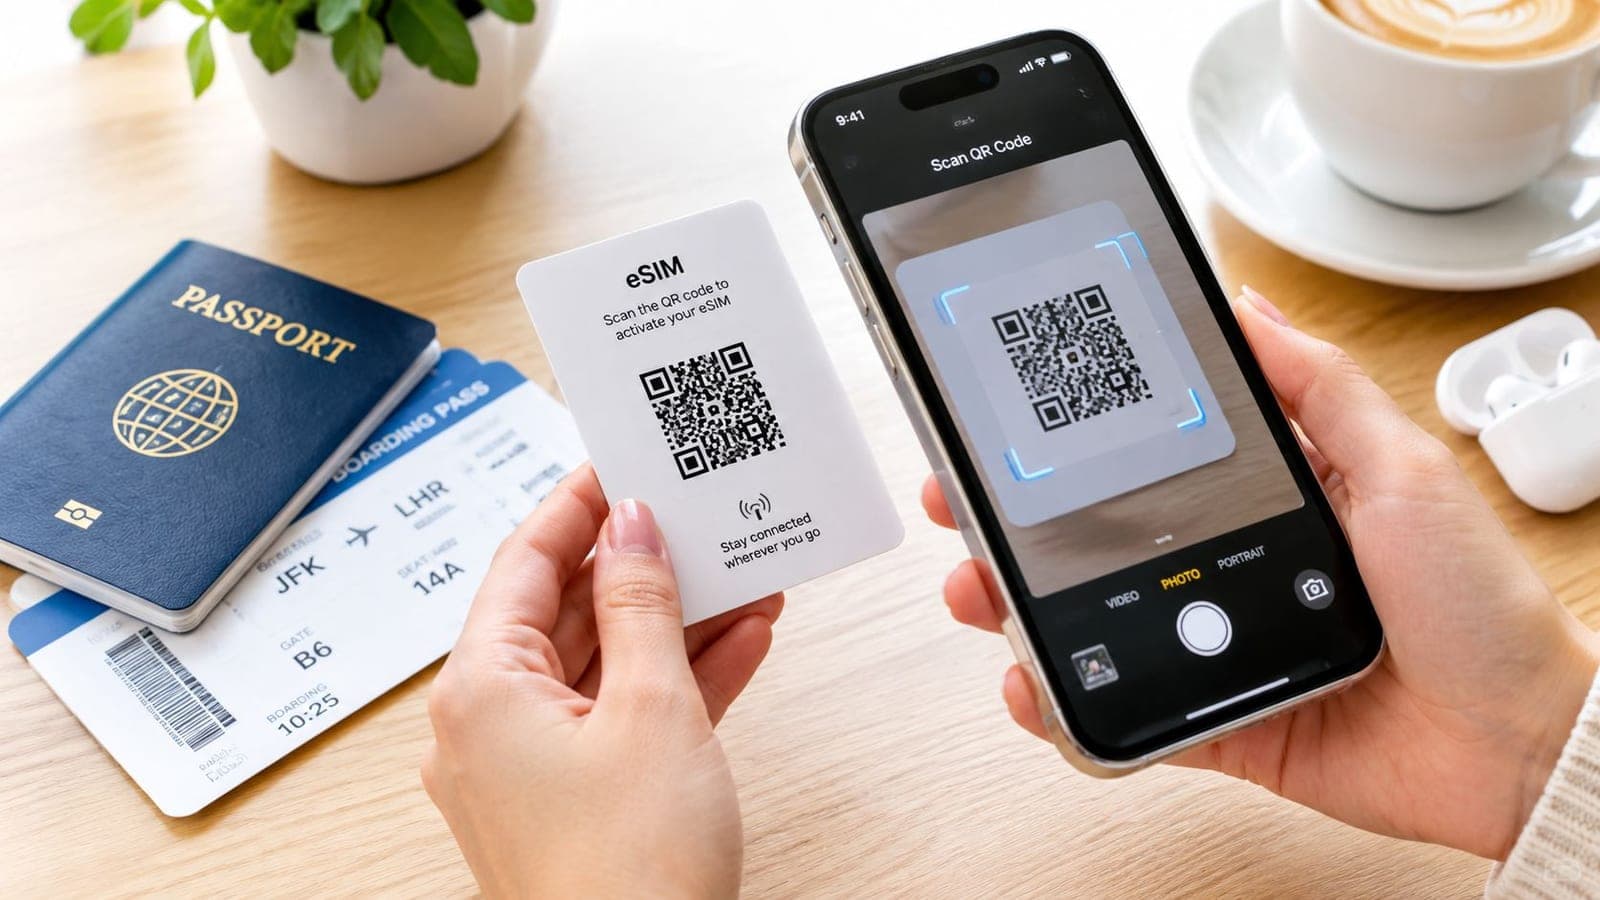
Start in the phone's system settings, not the camera app. On iPhone, go to Settings, then Cellular or Mobile Data, then add a new eSIM plan. On Android, the path usually runs through Settings, Connections, and SIM Manager, where the phone offers an Add eSIM or Add Mobile Plan option.
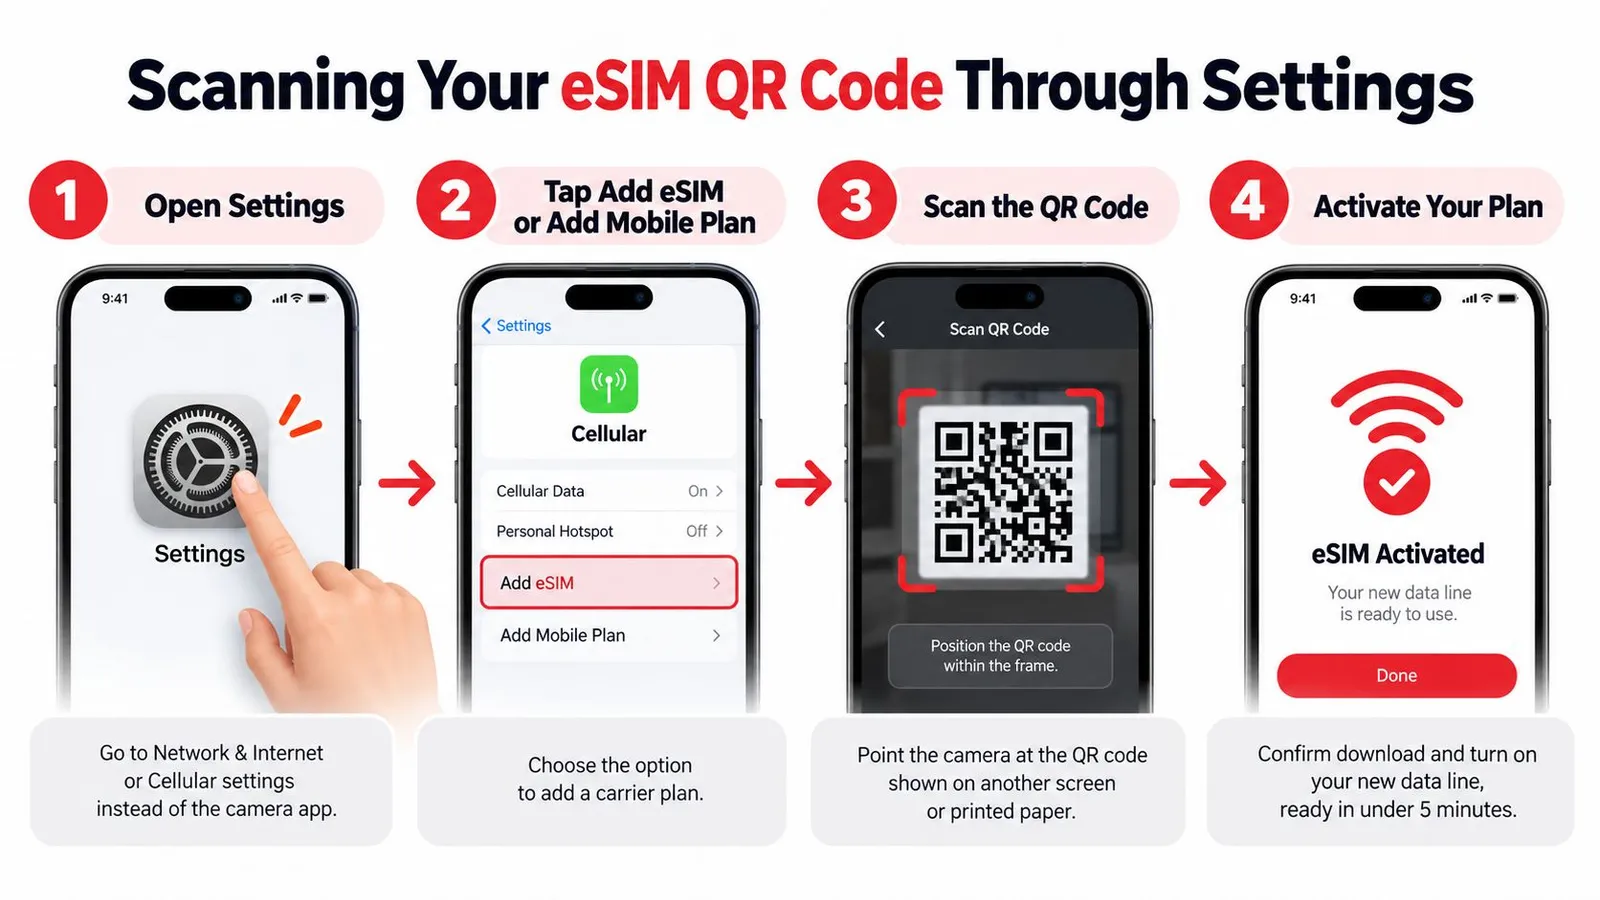
Use the eSIM installer, not the camera app
The reason matters. The installer hands the scan to the phone's Local Profile Assistant, which then talks to the carrier's SM-DP+ server and downloads the encrypted profile. A normal camera app can read the square, but it can't finish that provisioning handoff.
Practical rule: if the code is being scanned outside the eSIM setup menu, the activation usually goes nowhere useful.
Apple documents the iPhone flow as scanning the code, accepting the detected plan, and adding the mobile plan. Samsung's documented path is Settings > Connections > SIM manager > Add eSIM > Scan QR code. That's the sequence that triggers the download, so it's the sequence that matters Apple eSIM setup guidance.
Finish the setup cleanly
Once the phone recognizes the plan, approve the download and let the device finish provisioning. GSMA specifies that QR activation codes use ISO/IEC 18004 and begin with LPA:, which is why the code has to be rendered clearly and scanned from a second screen or printed copy, not from the same device's display. If the phone asks for a confirmation code, enter it exactly as provided.
Use this compatibility check before you scan the code: is my phone eSIM compatible. If the device is locked, missing eSIM support, or offline during download, the QR scan won't rescue it.
Using the RedSim App for One-Tap Installation
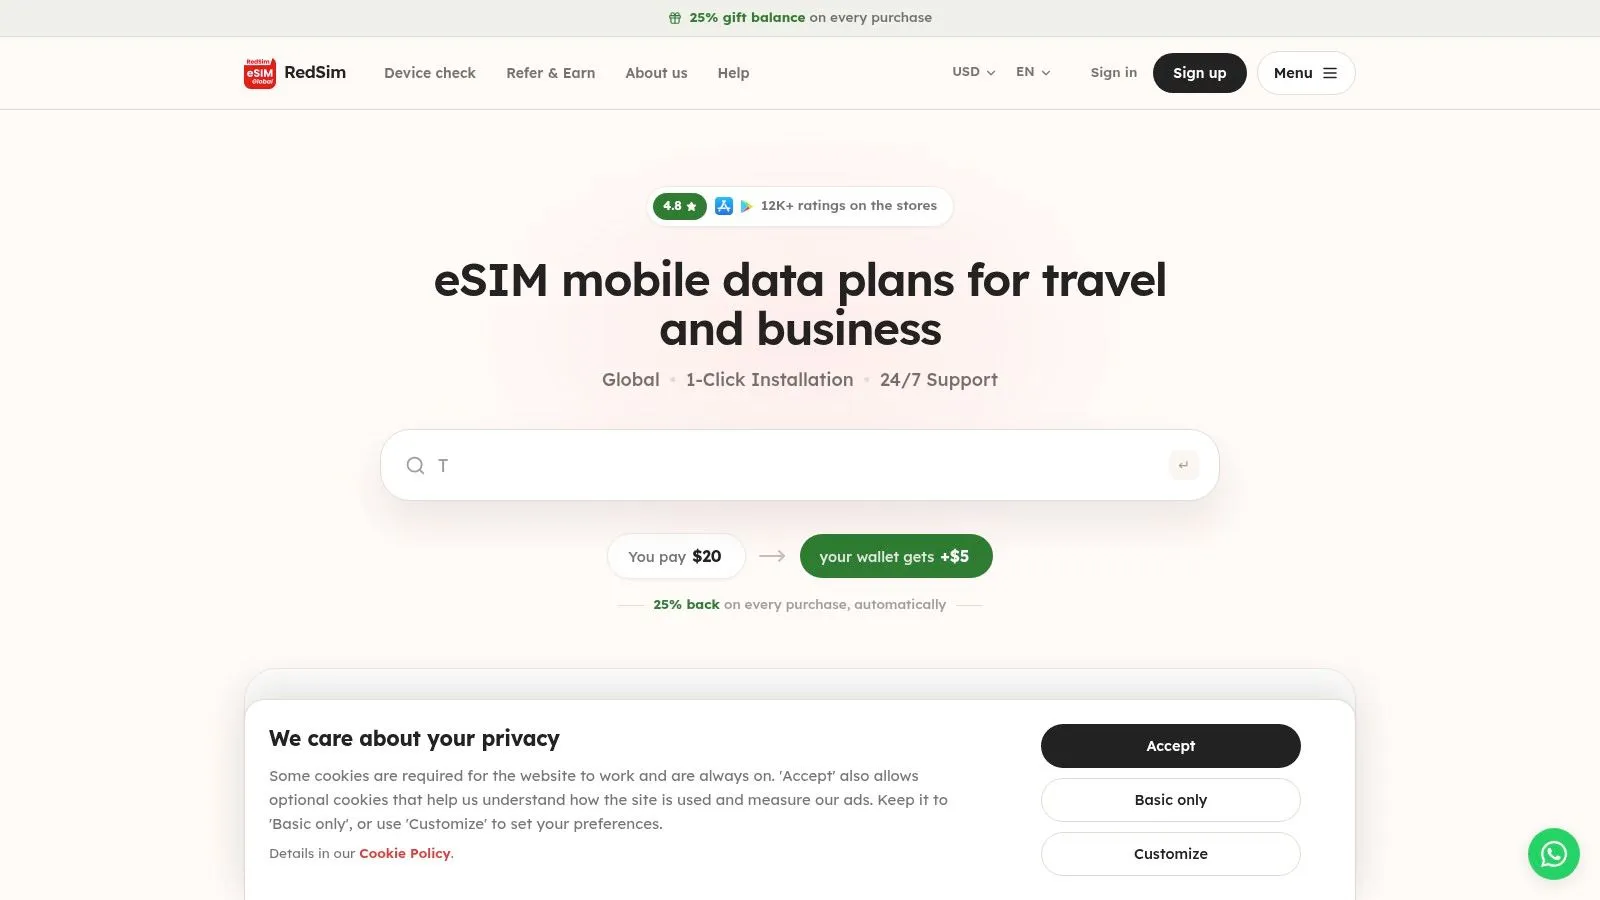
A QR scan is not always the fastest route. On compatible devices, the app-based install is cleaner because it skips the camera step entirely and sends the profile through the provider's own flow. That matters on travel days, when users are juggling luggage, airport Wi-Fi, and a phone that needs service now.
Turn the installed profile into usable data
Once the plan is on the device, the next mistake is forgetting to activate the right line. Open SIM settings again and switch on the travel eSIM for mobile data. Then enable Data Roaming for that line if the plan requires it, and set the travel line as the default for data so the home number doesn't eat roaming charges.
Do this first: choose the travel line for data before the first app refresh, map load, or message sync.
Apple and Android both let users assign a line for data, but the exact labels differ. The principle doesn't. The travel eSIM should carry data, and the home line should stay in place for calls or SMS only if that's how the trip is being managed.
For devices that support app-based setup, the provider app is the smarter option because it removes the QR handoff problem completely. The same account can also keep the plan visible after installation, which helps when the user needs to check status or confirm that the line is active. Download the app from RedSim's app page if the device supports that workflow.
Troubleshooting Common QR Scan Errors
Most QR failures come from the same three mistakes. The first is the missing email. The second is trying to install a code that has already been used. The third is trying to scan a QR that's sitting on the same phone being configured.
Start with the missing email problem
If the email hasn't shown up, check Spam and Promotions first, then search the inbox for RedSim. The QR code is also available in the account and the app under the eSIM area, so the inbox is not the only place to find it. If the order still looks stuck after a few minutes, support can resend it through WhatsApp with the order number.
Open the QR code from the missing-code help page before assuming the order failed. Many travelers waste time refreshing the inbox when the code is already sitting in the account dashboard.
Know why a second scan fails
A travel eSIM QR code is usually a one-time redemption. Once the profile has been downloaded, the voucher is consumed, and the backend rejects a second scan by design. That's why a QR can look fine on screen while the server still refuses it.
If the phone already shows the eSIM in its SIM list, stop scanning and fix the settings instead. Repeatedly rescanning the same code won't make a consumed activation voucher usable again.
Stop trying to scan your own screen
This is the single-device QR-code problem, and it catches a lot of travelers. A phone can't camera-scan the QR code that's displayed on its own screen, so the setup stalls before provisioning even starts. The workaround is to show the QR on a laptop, tablet, or second phone, or use the provider's one-tap install flow if the device supports it.
The code is not broken just because the phone won't read its own display.
If the scan still fails after that, look at the basics in order: device compatibility, internet access, profile state, and whether the plan was already installed. Deleting the eSIM is not a fix, because the old code usually won't come back to life.
Essential Tips for a Successful Setup
The cleanest setup starts before the scan. The phone has to support eSIM, and it has to be free of carrier restrictions. A valid esim qr code cannot compensate for missing hardware or a locked device, no matter how carefully it's scanned.
Check compatibility before travel with supported device guidance. That simple step removes the most annoying failure mode, which is discovering that the QR code works perfectly on a phone that still won't accept the plan.
Keep the code available and don't delete the profile
Once the plan is installed, keep a screenshot or printed copy in a safe place. If the device is reset, replaced, or reconfigured later, that backup can save time, but only if the provider still supports the reinstall path. The original voucher is often consumed after first use, so a deleted profile usually does not reinstall by rescanning the same code.
This is why deleting an eSIM to “start over” is a bad move. It often turns a manageable setup issue into a replacement-code problem, and that means waiting on support instead of using the phone.
Use a stable connection during download
The download step needs a working internet connection right after the scan. Wi-Fi is the sensible choice because the phone has to contact the provisioning server and pull the encrypted profile immediately. If the connection drops halfway through, the scan may be registered without producing a usable line.
Best practice: scan, approve, and let the device finish the download without switching networks or leaving setup halfway done.
Travelers should also avoid treating a screenshot as disposable. It's safer to store the QR in an account page, email archive, or printed copy than to assume the original message will always be easy to find again. The fewer places the code can disappear from, the fewer support tickets it creates.
Getting Connected and Enjoying Your Trip
Once the plan is active, the hard part is over. The phone should use the travel line for data, the home line should stay out of the way, and roaming bills should stop being a daily concern. That's the whole point of the QR model, fast digital provisioning without a physical SIM swap.
What to remember when the trip starts
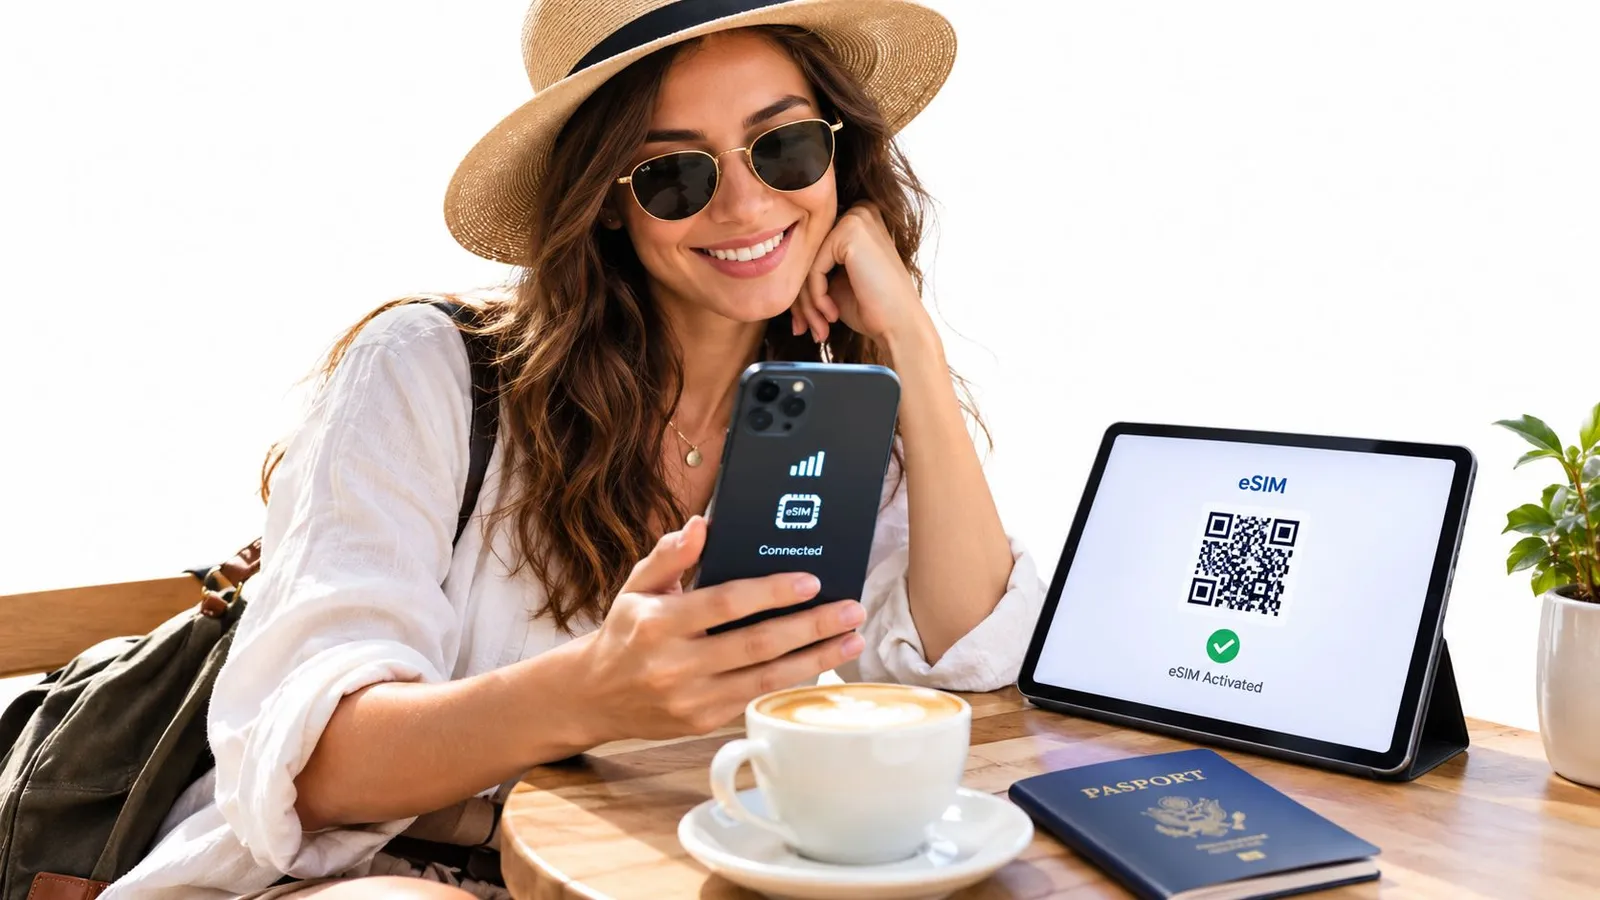
The QR code is a bridge, not the product. It hands the device a subscription profile, and the phone does the rest through its settings. That's why the setup only feels easy after the user respects the one-time code, the correct menu path, and the need for a second screen when the QR arrives on the same handset.
If the installation still misbehaves after those checks, the best move is support, not guesswork. RedSim offers 24/7 human support via WhatsApp, and the account area keeps the eSIM details visible for rechecking plan status, managing active lines, and handling follow-up changes. Review active eSIM management in manage my eSIMs.
The smart traveler does three things in order. First, installs through the proper device settings or app flow. Second, keeps the QR accessible. Third, avoids deleting an active profile just to “refresh” the connection.
That approach gets the phone online faster and avoids the common loop of rescanning, failing, and losing more time at the worst possible moment. The result is simple, connected travel, fewer setup mistakes, and a phone that's ready before the taxi leaves the airport.
If the setup still feels annoying, use RedSim to get the plan into the phone through QR or one-tap installation on compatible devices. It's built for travelers who want the connection working fast, with support ready if the code won't scan or the profile won't install.