
 United Arab Emirates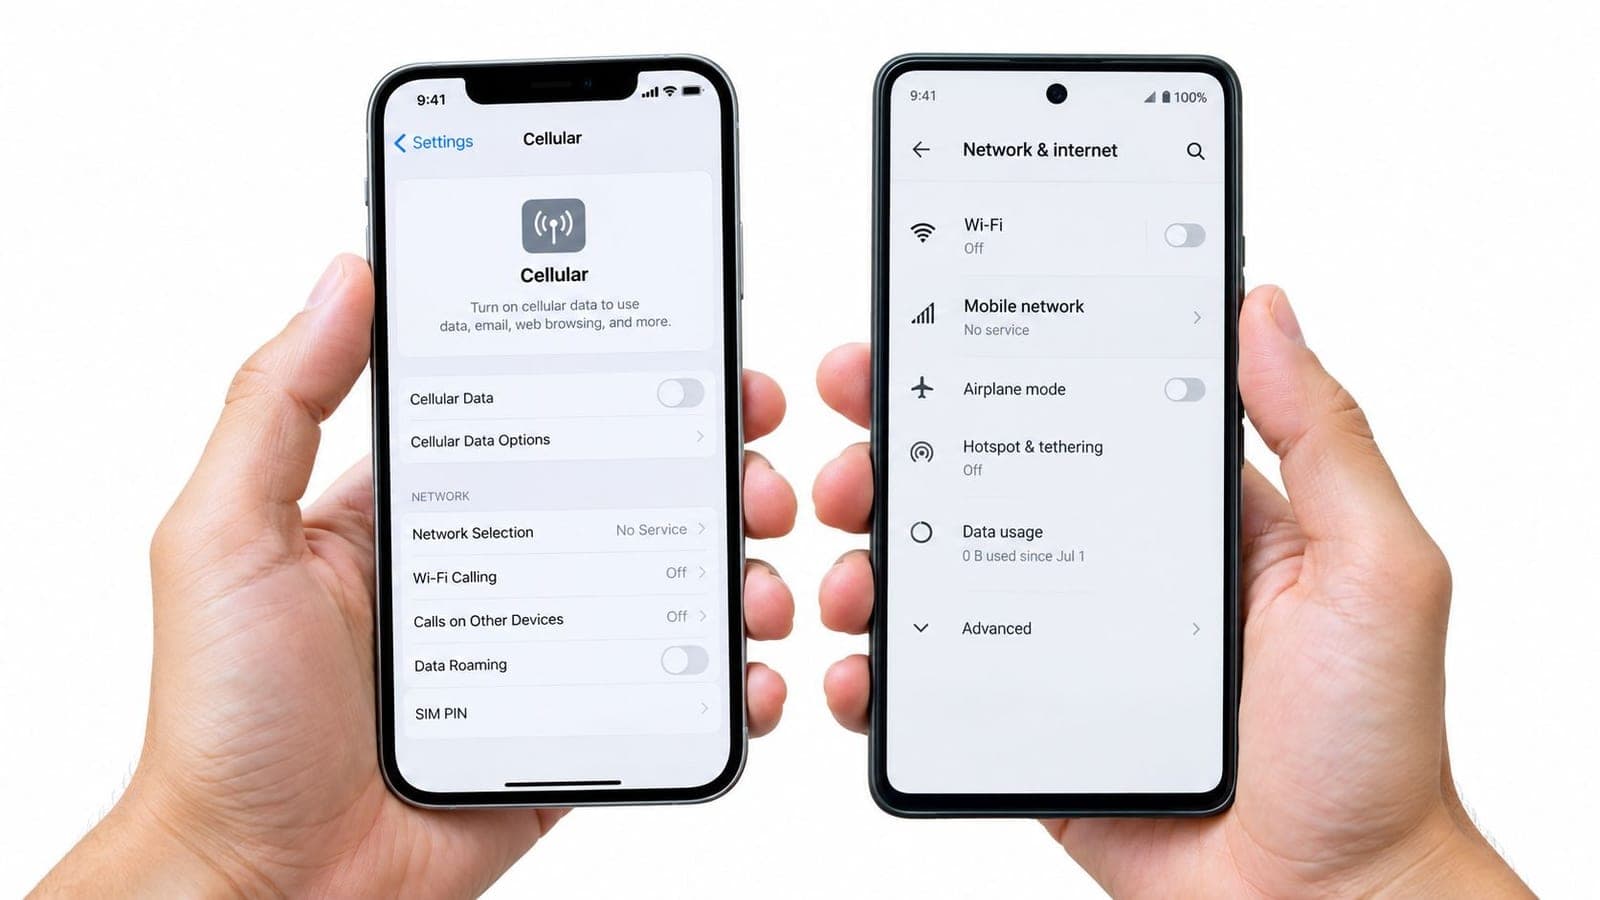
The usual failure looks the same. The eSIM installed fine at home or on airport Wi Fi, the phone shows bars after landing, and then nothing loads. Maps won't refresh, messages stall, and the screen says 5G or LTE while the browser says there's no internet.
In most travel cases, eSIM not working is a phone settings problem first, not a coverage problem. Three mistakes cause most failures: Data Roaming is off for the eSIM line, the home SIM is still selected for mobile data, or the eSIM line itself is turned off. One more mistake makes recovery harder: deleting the eSIM and trying to reinstall it. That should never be the first move.
Why Your eSIM Shows No Internet Right After Landing
A phone can show signal bars and still route data through the wrong line. That's why this issue feels confusing. The device appears connected, but the data path isn't set up the way a travel eSIM needs.
Most no-internet cases right after landing come from a short chain of settings that can be checked in under two minutes. The fastest path is simple: make sure the eSIM line is on, turn Data Roaming ON for that eSIM line, select the eSIM as the mobile data line, then toggle Airplane Mode or restart the phone.
What usually happened before the plane door opened
Many travelers install the eSIM correctly before departure. The profile is there. The QR scan worked, or the app install completed. Then the phone lands in a new country and still behaves as if the home SIM should handle data.
That's when people start changing random settings, resetting networks, or removing the profile entirely. That last step causes unnecessary damage because a travel eSIM QR code installs only once. If the profile is deleted, the original code can't be scanned again.
First rule: if the eSIM is installed but data isn't working, troubleshoot the line settings before touching anything related to deletion.
Different phones label the menus differently. iPhone uses Cellular or Mobile Data. Android often uses SIM Manager, Network & Internet, or Connections. QR installs and 1 click app installs can both end in the same failure state if the data line and roaming settings aren't right after arrival.
A practical arrival checklist with the common “bars but no data” scenario is available in RedSim's no signal after landing help guide. That's the right starting point before deeper diagnostics such as manual carrier selection or APN review.
Common Reasons an eSIM Fails to Connect
Most eSIM failures fall into three buckets: device settings, compatibility and provisioning, and network behavior after activation. Treating all three as the same problem wastes time.
Device settings cause most avoidable failures
The most common travel mistakes are ordinary phone settings, not anything exotic:
- Roaming left off: Travelers often disable roaming out of habit, but a travel eSIM usually needs it on for that line.
- Wrong data line selected: The home SIM remains the default for mobile data, so the eSIM registers on a network but doesn't carry data.
- eSIM line disabled: The profile exists, but the line toggle is off in the SIM list.
- Profile deleted too early: The user removes the eSIM to “start over,” even though each QR install is single use.
These are the first checks because they're both common and reversible.
Compatibility and provisioning still matter
Not every phone, carrier, or market supports eSIM in the same way. GSMA's rollout timeline shows how recent mass adoption still is. The first consumer eSIM standards emerged in 2017, and by June 2024 the ecosystem had reached 271 consumer eSIM devices launched, 123 operators offering eSIM service for smartphones, and 82 countries with smartphone eSIM service according to GSMA's eSIM rollout report.
Regional compatibility gaps are still wide. Independent analysis estimated North America's eSIM compatible smartphone share at 76.3% to 82.2% in July 2026, while South America was 44.2% to 57.7%, a gap of roughly 20 to 35 percentage points depending on market, as noted in the Drift Americas eSIM compatibility analysis. That's why a plan can be valid while a device still can't use it properly.
A destination product can be technically straightforward and still depend on the device and local carrier path. For example, the United Arab Emirates eSIM offers prepaid travel data on du and Etisalat, with 1 to 30 day options, 5G, and instant QR delivery, but the phone still has to be compatible, carrier-free, and configured to use the eSIM line.
Some failures happen after activation, not during it
Public guides often stop at “activated successfully,” but many real complaints begin after that point. Provisioning can fail because of unstable OTA delivery, server issues, or lifecycle mismatches where the profile appears complete but still doesn't pass data. Guidance for support teams also notes that the best health signal is actual data use, not just status in a provisioning system, as described in this eSIM provisioning failures guide.
There's also a separate problem: connected but slow. The European Commission's roaming review found that 76% of roaming users don't get the same download speeds as on their home network, and in 80% of cases speeds are lower than local subscribers on the visited network, according to the European Commission roaming review. In that case, the eSIM may be working correctly, but the network experience still feels bad.
Quick Fix Checklist That Solves Most eSIM Issues
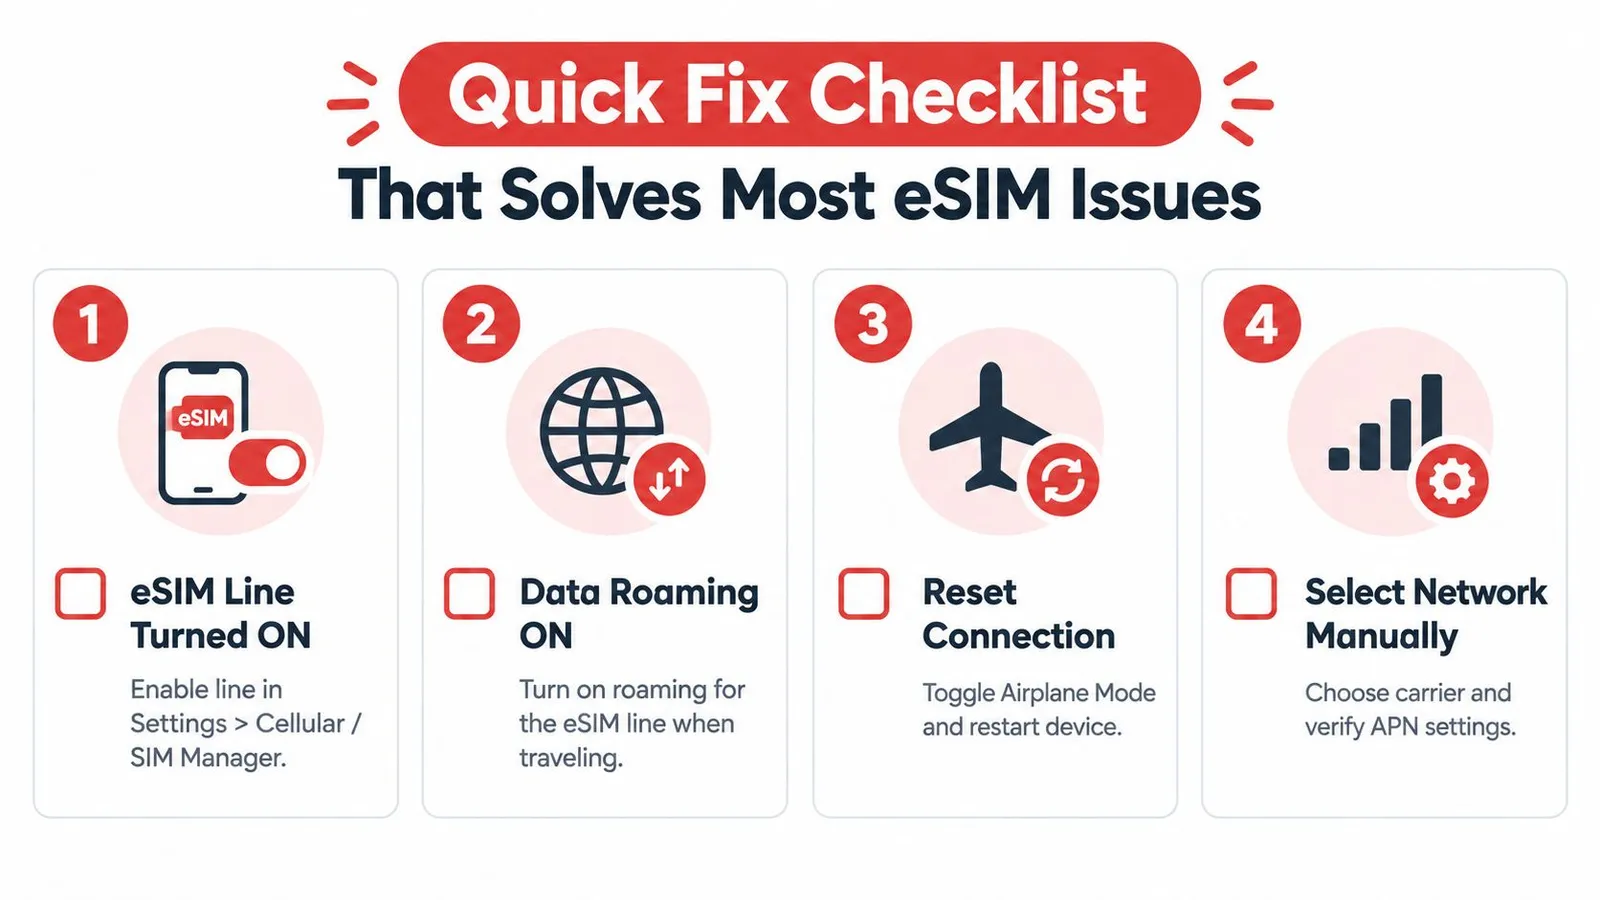
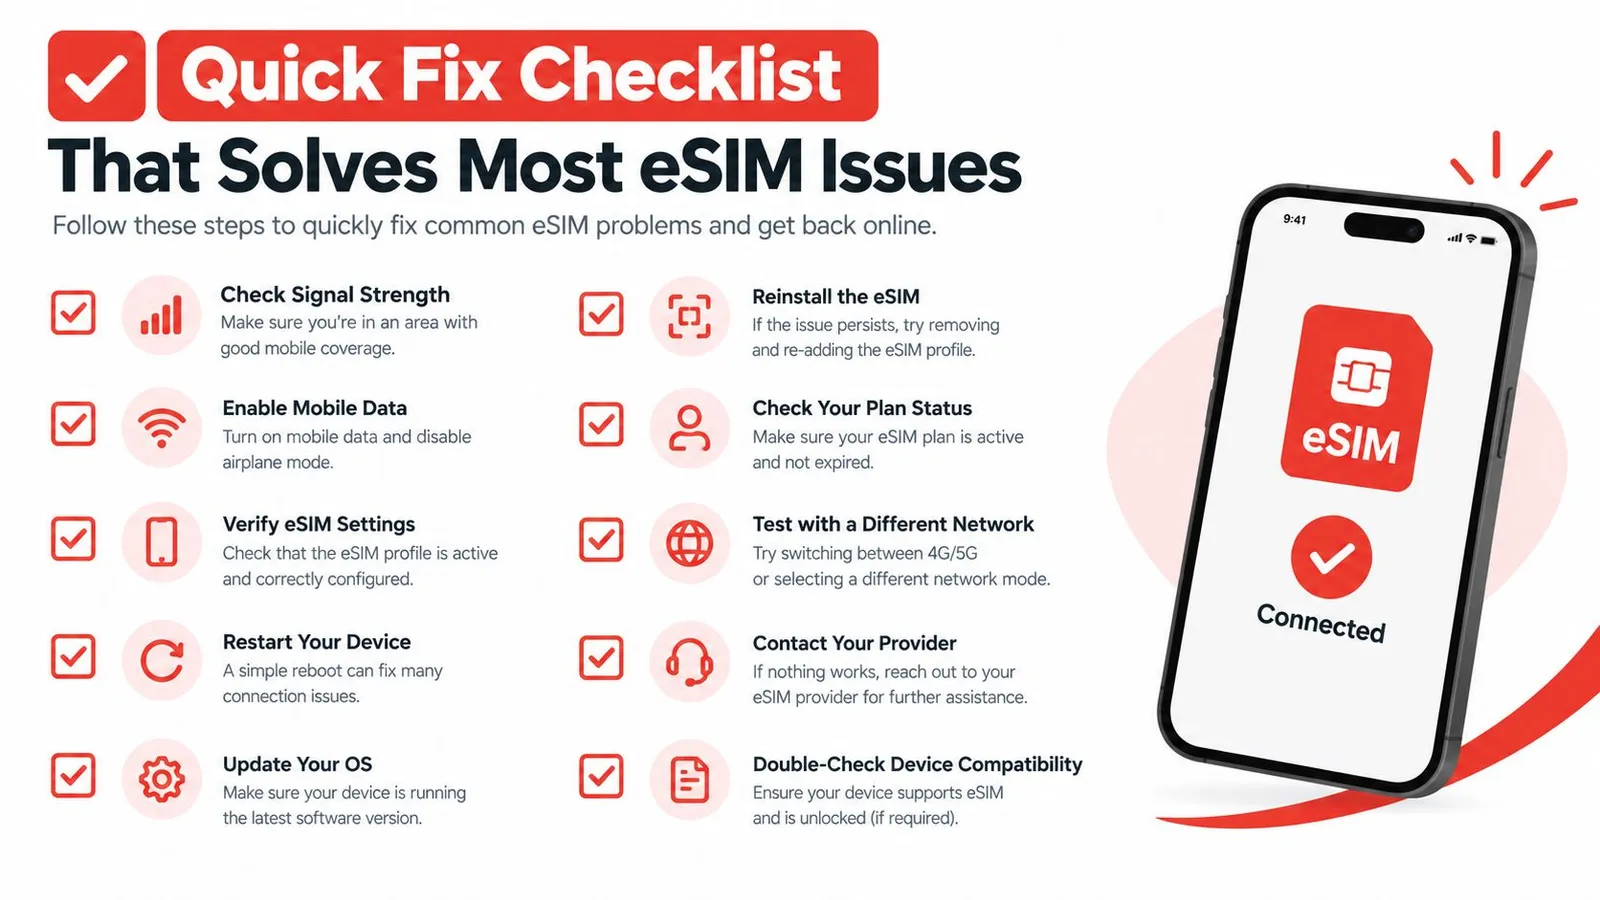
This is the order that solves most travel cases fastest. Don't jump to APN edits or delete the profile before these four checks are done.
1. Turn the eSIM line on
Open the SIM list and confirm the travel eSIM is enabled. On some phones the profile installs successfully but remains off until the user enables it manually.
Look for the line label under Cellular, Mobile Data, SIMs, or SIM Manager. If the line is present but greyed out or toggled off, turn it on and wait a few seconds for the phone to search again.
2. Turn Data Roaming on for the eSIM line
This is the setting people skip most often. Travel eSIMs commonly require data roaming to be turned on for the eSIM line itself, because the phone sees the local partner network as roaming; the home SIM does not need roaming enabled, as explained in this travel eSIM roaming guide.
Keep the logic straight:
- eSIM roaming ON: needed so the travel eSIM can use its local partner network
- Home SIM roaming OFF: avoids accidental charges on the home carrier
- Prepaid travel line: safe to use as intended because the plan is prepaid
The roaming toggle belongs to the travel eSIM line, not the home SIM.
3. Set the eSIM as the mobile data line
A phone can keep using the physical SIM or home eSIM for data even while the travel eSIM is active. That creates the classic “signal bars, no internet” complaint.
Check the Mobile Data, Cellular Data, or Preferred SIM for data setting and select the travel eSIM. If needed, turn off mobile data use on the home SIM entirely so the phone stops trying to route traffic through it.
4. Force a fresh network search
After the line is on, roaming is enabled, and the eSIM is selected for data, refresh the connection. Either toggle Airplane Mode briefly and turn it off, or restart the phone.
This step matters because the phone may still be attached to an earlier network state from landing, airport Wi Fi, or the home carrier. A restart or radio reset often clears that stale registration.
Critical warning: never delete the eSIM to reinstall it during troubleshooting. Each QR code installs only once, so deleting the profile can turn a simple settings problem into a support case.
If the four checks are complete and data still doesn't work, the next practical step is the RedSim setup help page, followed by manual network selection and APN review on Android.
iPhone and Android Setup Fixes for QR and App Install
The same logic applies on both platforms, but the menu names differ enough that people miss the right toggle.
iPhone settings that matter
On iPhone, go to Settings > Cellular or Settings > Mobile Data. Under the SIMs or plans list, make sure the travel eSIM is turned on. Then open that specific line and turn Data Roaming on for it.
After that, return to the main Cellular screen and set Cellular Data to the travel eSIM. A common setup mistake is leaving the physical or home SIM selected as the default data line. Troubleshooting guides for both platforms tell users to switch the mobile data line to the eSIM, as outlined in this guide to using eSIM abroad.
A few practical iPhone checks help in dual SIM setups:
- Business line still active: Fine for calls or SMS if needed, but data should stay on the travel eSIM.
- Home SIM still handling data: Switch it off for mobile data use.
- Installed by QR or app: It doesn't change the network settings required after arrival.
Android paths vary by brand
Android usually places the controls under Settings > Connections > SIM Manager or Settings > Network & Internet > SIMs. Turn the eSIM on first. Then open the travel line settings and enable roaming for that SIM.
Next, set the travel eSIM as the preferred SIM for mobile data. On Samsung, Pixel, and other Android phones, that setting may sit in a slightly different place, but the principle is identical. If the wrong SIM owns mobile data, the eSIM can appear connected while apps still fail.
QR install and app install are not the same thing
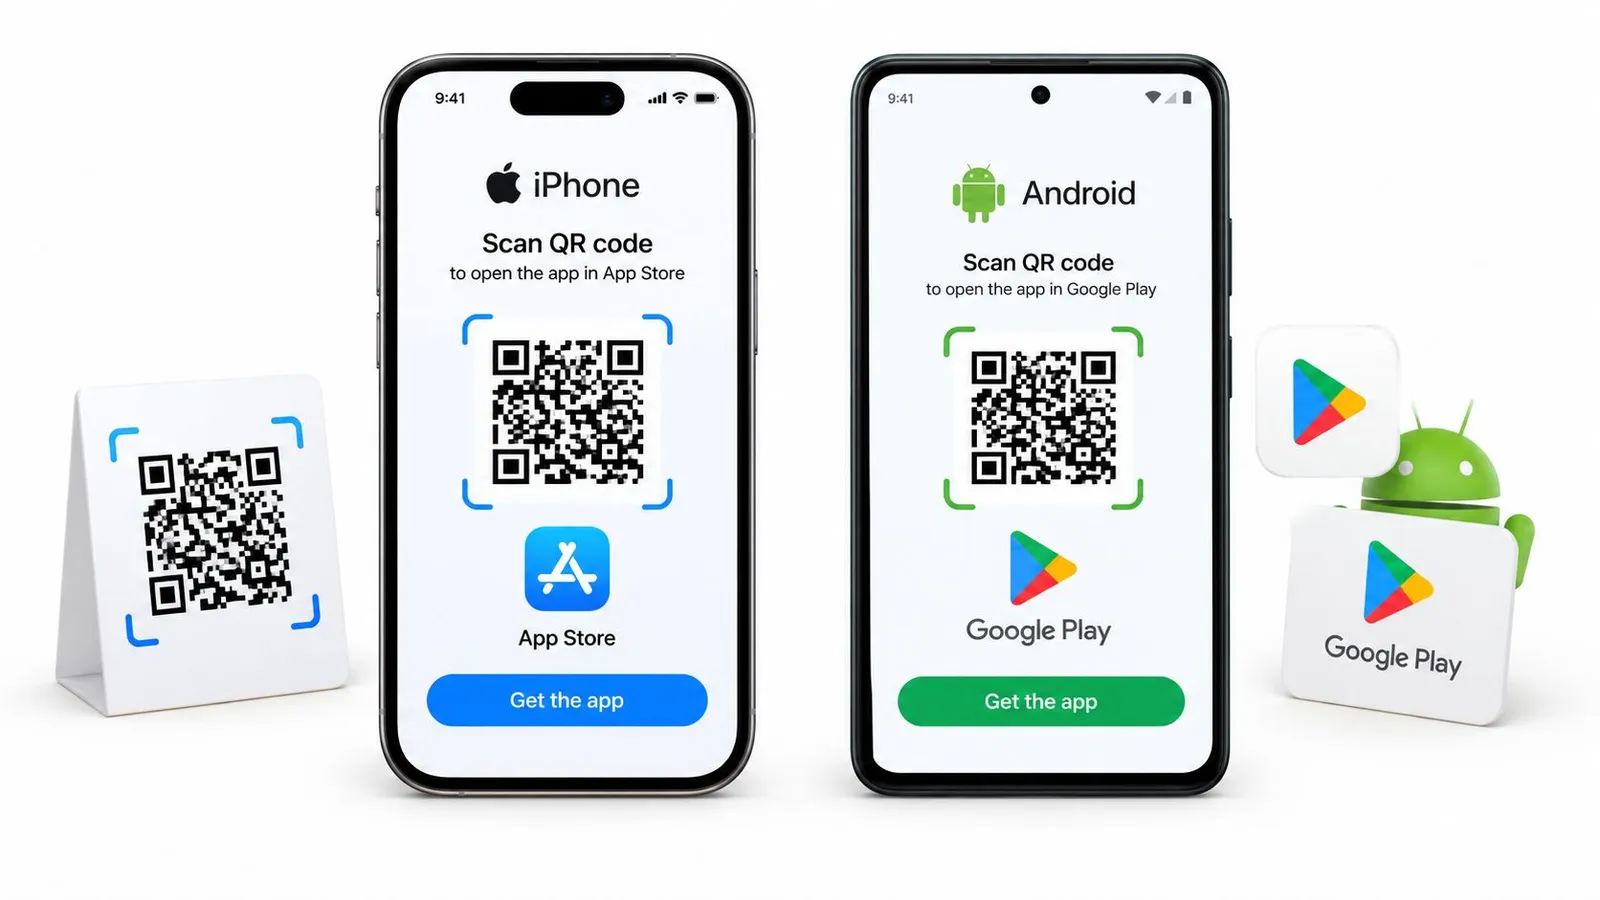
A QR install usually happens through phone settings. A 1 click install happens inside the provider's app on compatible devices. Both methods can work well. The difference is convenience, not the logic that follows.
Top ups normally don't require a new QR code because they apply to the active eSIM profile already on the phone. That's useful for travelers who want to keep one line in place across a trip instead of repeating the install process.
If the QR email never showed up or the install message is missing, the relevant next step is the QR code delivery help page. That's a better path than trying random reinstalls.
Advanced Diagnostics When Basic Fixes Do Not Work
When the quick settings checks don't restore data, the problem usually moves into network selection, APN setup, device restrictions, or provisioning state.
Try manual network selection
When an eSIM isn't connecting, manual network selection is a documented next step. Users are instructed to disable automatic selection, wait for available networks, and choose a carrier manually, as shown in this manual network selection troubleshooting guide.
This helps when the phone attaches to the wrong partner network or fails to register automatically after landing.
Check APN on Android
Some carriers and destinations need a manual APN entry before data starts passing. Android is where this matters most. One troubleshooting guide instructs users to open Access Point Names, add a new APN if needed, enter the carrier's APN value, save it, and retry the connection, as described in the Android APN troubleshooting guide.
If the eSIM provider shows an APN value inside its app, use that exact value. Don't guess.
If the phone shows bars and the line is enabled, APN is one of the first advanced checks on Android.
Use a simple decision matrix
| Symptom | Try Next | Where to Check |
|---|---|---|
| eSIM installed, no signal | Select network manually | SIM settings, network operator menu |
| Signal bars, no internet | Confirm data line and then APN on Android | Mobile data line, Access Point Names |
| eSIM won't activate at all | Check compatibility and carrier unlock status | Device settings, carrier status |
| Profile shows active but still no data | Validate real data use, not just install status | eSIM management app, support logs |
| Connected but very slow | Test another local network if available, then assess network quality limits | Network selection, speed behavior across locations |
Provisioning failures can sit in the OTA path rather than the handset. Technical and academic work points to latency, packet loss, unstable connectivity, and missing or overloaded SM-DP+ infrastructure as common causes. One study on eSIM deployment in Nigeria reported that improving the OTA signaling path increased success rate by 37.3% and cut setup time by 28.5%, according to the academic review of eSIM deployment and OTA performance. That matters because sometimes the QR code wasn't the problem at all.
Cross device lifecycle issues also show up later. A 2026 survey reported that 17% of respondents were challenged by integrating eSIM into existing physical SIM lifecycles, while 21% cited regulatory, security, and privacy concerns, according to the Kigen eSIM survey report. Reinstalls, transfers, and device switches can fail even when the original activation worked.
For active lines that still behave oddly, the useful account view is often the eSIM management page, such as RedSim's manage my eSIMs help guide.
Prevent Future Issues and Get Help From RedSim
Most repeat problems are preventable. The safest routine is to install before departure, leave the profile in place, and arrive already knowing which line should handle data.
A practical pre travel habit list
- Check compatibility early: eSIM support still isn't universal across devices, carriers, and markets.
- Confirm the phone is carrier-unrestricted: a locked device can block third party eSIM use even when installation appears normal.
- Install before flying: use QR or app install while stable internet is available.
- Keep the eSIM profile: don't delete it unless support explicitly tells you to.
- Test the right settings on arrival: eSIM line on, roaming on for that line, eSIM selected for mobile data.
One operational rule saves a lot of trouble: top ups usually don't need a new QR. Keeping the existing profile active is simpler than removing and rebuilding the line.
When support should step in
If the line is enabled, roaming is on, the eSIM is selected for data, manual network selection has been tried, and Android APN settings have been checked where relevant, it's time for human support. The useful details to share are the phone model, destination, whether the phone is unlocked, what network appears on screen, and whether the issue is no signal, no internet, or slow data.
RedSim provides 24/7 human support by WhatsApp and email, with typical replies in about two minutes. Unused, unactivated eSIMs are refundable in full, and active lines can usually be topped up without issuing a new QR code. The contact path is the RedSim support page.
The cleanest support cases start with screenshots of the SIM settings page and the exact symptom on screen.
RedSim offers travel eSIMs for more than 200 destinations, with QR delivery and 1 click installation in its iPhone and Android apps. For travelers dealing with eSIM not working after landing, that matters because the fix is usually in line settings, plan management, or fast support rather than starting over. Visit RedSim to check device compatible plans, install before the trip, and get help quickly if the line doesn't connect.
Authored using the Outrank app