
Landing in a new country and seeing No Service on an iPhone is frustrating, especially after the eSIM QR code already scanned without errors. The problem is usually not the scan itself, it's the post-install settings that decide whether the phone sends data through the travel line. Knowing how to set up eSIM on iPhone means getting both parts right, the installation and the cellular routing.
Checking iPhone Compatibility and Carrier Lock Status
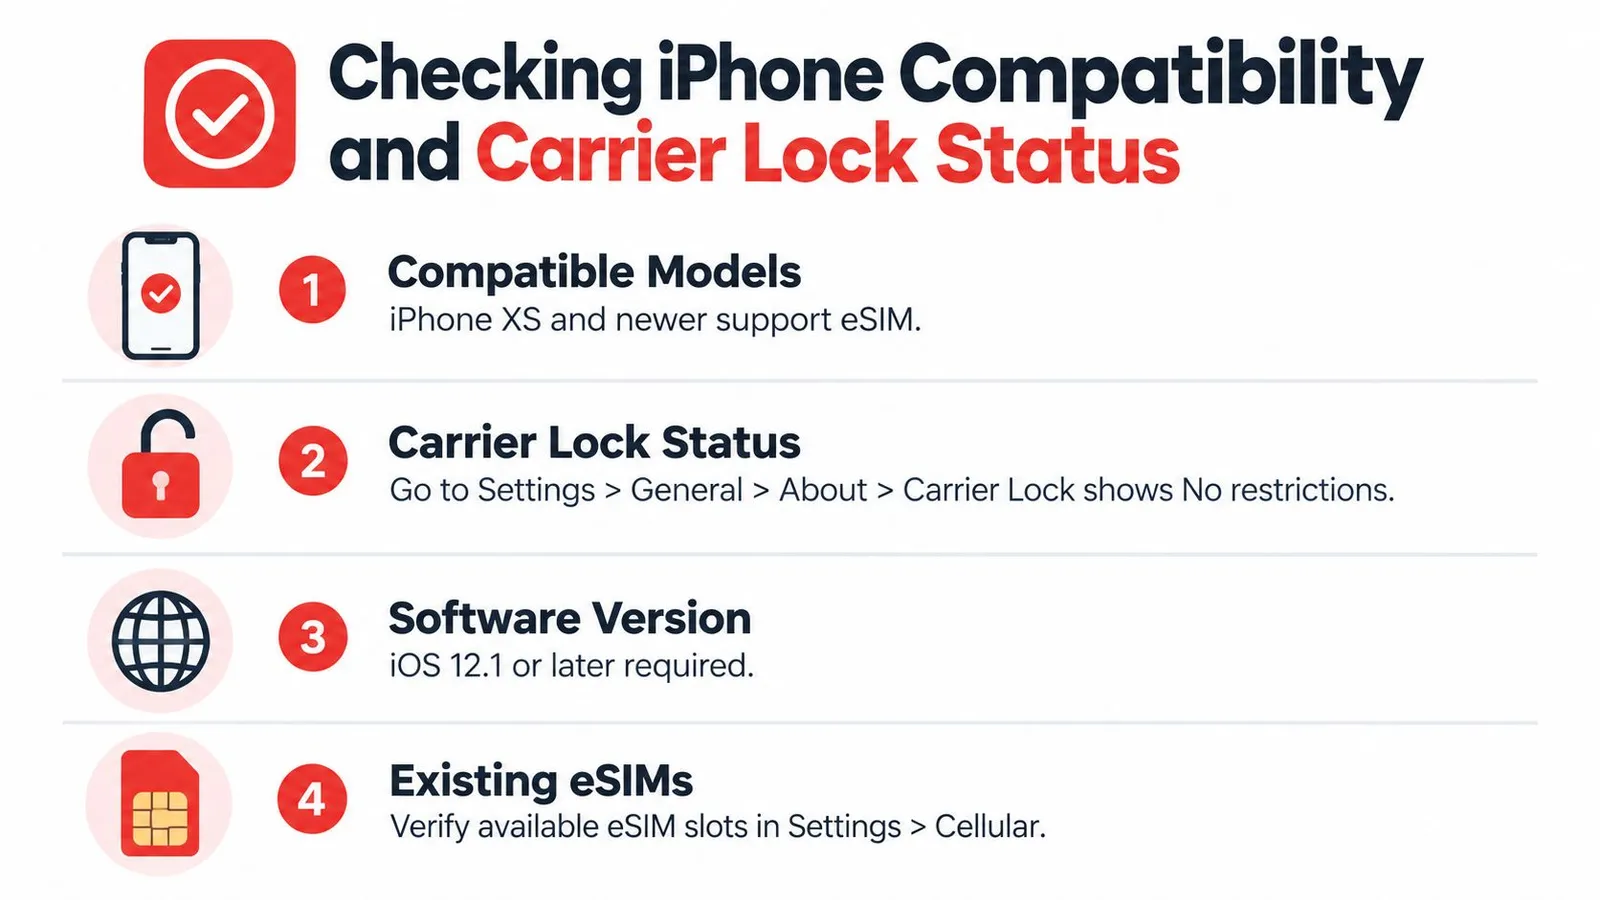
The first check is simple, and it saves the most time. Apple's current eSIM setup process applies to iPhone XS, iPhone XS Max, iPhone XR, and later models Apple support, so that generation is the baseline for mainstream Apple eSIM support.
Confirm the phone can use eSIM
Open Settings > General > About and look for EID. If the device shows an EID, the hardware is ready for eSIM provisioning. If it does not, the phone is not prepared for this workflow, no matter how good the QR code is.
The second check is Carrier Lock in the same menu. If it shows No SIM Restrictions, the phone can accept a travel eSIM. If it shows a restriction, the existing carrier still controls the device, and a travel plan may fail before activation even starts. Apple says only the existing carrier can lift the lock on a locked iPhone, so that step has to be handled before travel.
Practical rule: a compatible model is necessary, but it is not enough. The phone also needs to be unlocked and able to reach the activation data over the internet.
If the phone is being checked before purchase, the safest next step is to review the device list on RedSim's iPhone compatibility page. That keeps the model check and carrier-lock check in one place before any installation attempt.
Installing Your eSIM Using the RedSim App
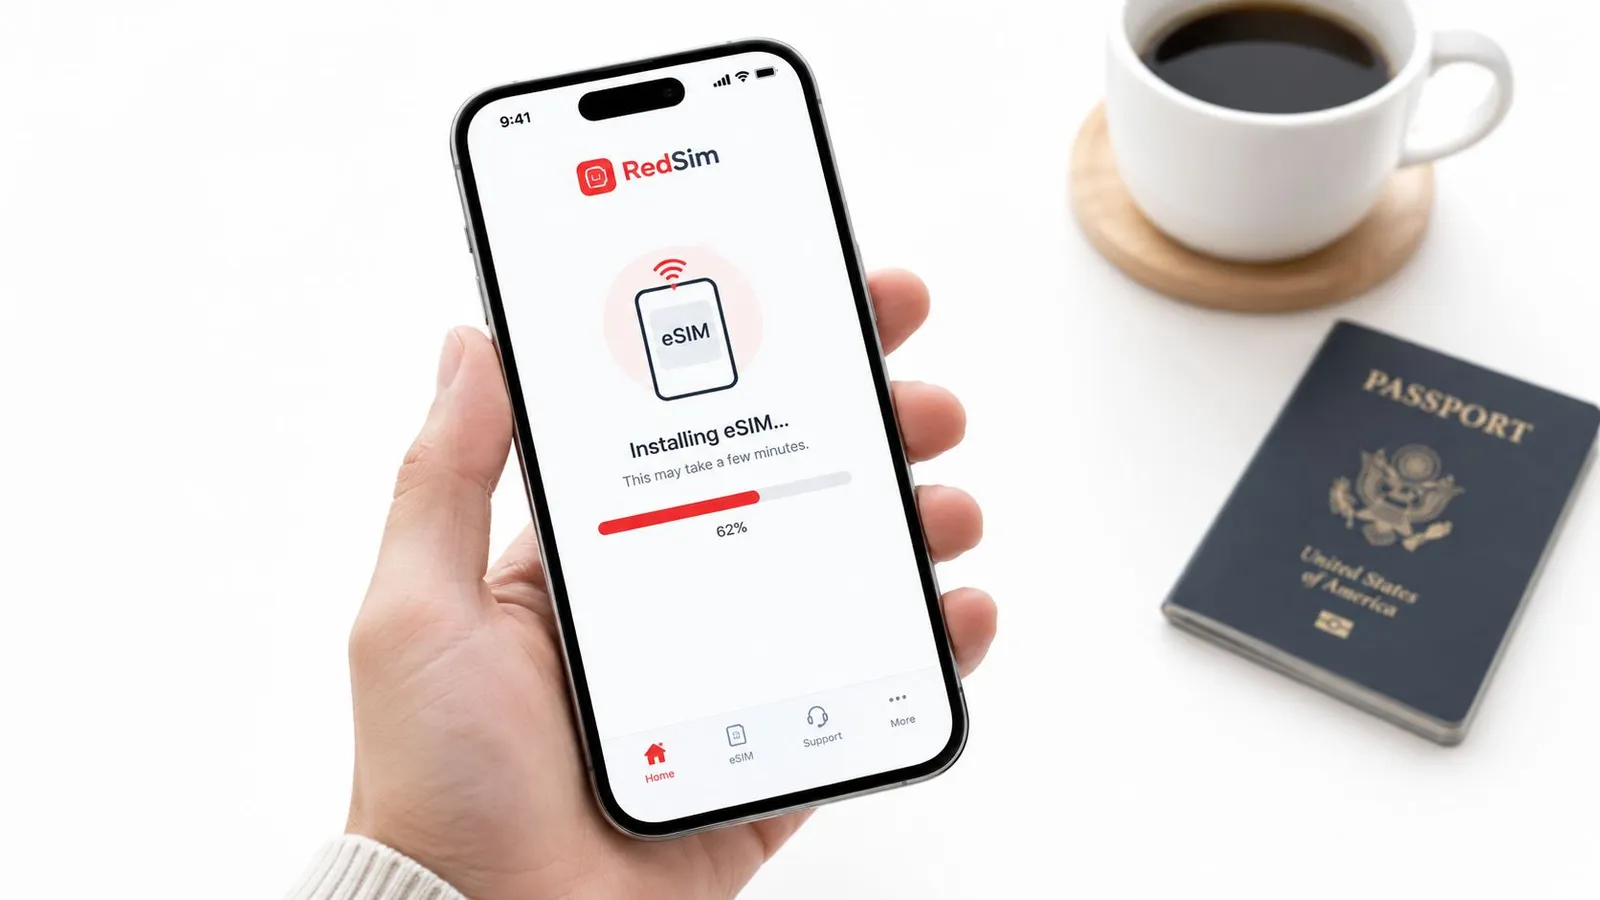
When the eSIM was bought through the app, the cleanest path is the direct install flow. On a compatible iPhone, opening the app and tapping install hands the setup off to iOS, which then asks for the final confirmation and line label. The result is less fiddling at the airport and fewer mistakes caused by scanning a code in bad light.
Use the app install flow first
Open the RedSim app on the iPhone and tap install. iOS opens the cellular plan setup, then prompts the user to continue and label the new line. That label matters, because the phone later needs a clear distinction between the home line and the travel line.
After the plan downloads, the phone should show the new line under Settings > Cellular. That is the point where many travelers assume they are done, but the line still has to be assigned as the data connection and given the right roaming permission. Without that last step, the install can look successful while data still routes through the wrong SIM.
For account access and app delivery, the download page is here: RedSim app download. That path avoids a second device and is usually the quickest route when the phone is already in hand and connected to Wi‑Fi.
The fastest install is not the one with the fewest taps, it's the one that finishes with the travel line ready for data, not just visible in settings.
Activating an eSIM With a QR Code
The QR method is still the standard fallback when app install is unavailable or the voucher arrived by email. Start from Settings > Cellular > Add eSIM > Use QR Code, then scan the voucher from another screen or a printed copy. Apple's flow then detects the plan, asks to continue, and adds the line.
Follow the manual route carefully
If the phone is on iOS 17.4 or later, a QR code shown in the default email app or browser can be pressed and held, then Add eSIM can be selected directly. That shortcut is useful when there's no second device nearby, especially after landing. It also reduces the risk of scanning problems on a crowded gate seat or in bright daylight.
If the carrier asks for a confirmation code, enter it when prompted. After the line is added, label it clearly so it stands apart from the main number. That small step pays off later when choosing the correct line for data and roaming.
Do not delete the installed eSIM during troubleshooting unless support explicitly says to do it. Many activation vouchers are meant for one profile download, and removing the profile can turn a simple fix into a fresh provisioning problem. If the QR email did not arrive, RedSim's QR code help page is the relevant fallback.
Configuring Cellular Settings for International Travel
A successful install does not always mean the phone will go online. The next step is routing, and that is where travel setups often fail. The iPhone has to be told which line carries mobile data, and Apple's Dual SIM guidance notes that the wrong line can stay selected, or Data Roaming can remain off for the travel profile Apple Dual SIM guidance.
Set the travel line as the data line
Open Settings > Cellular > Cellular Data and choose the travel eSIM. Then open that line's Cellular Data Options and turn Data Roaming on for the travel profile only. That lets the phone use cellular data outside the plan's home network coverage.
Keep the home line available for calls or SMS if you need it, but do not leave it as the active data route unless that is the intent. Turning off cellular-data switching helps stop the phone from dropping back to the wrong line, which is a common failure point after landing. Maps, ride apps, and verification texts all depend on the correct line being selected.
If the phone still shows no data after the line is set, RedSim's no-signal help page follows the same order of checks. First pick the travel line, then confirm roaming, then verify that the right profile is carrying data.
Bottom line: if the eSIM is installed but data is missing, the problem is usually routing, not activation.
Troubleshooting Common eSIM Connection Issues
A QR scan can finish cleanly and the iPhone can still stay offline. In that case, the fastest fixes are mechanical: toggle Airplane Mode, confirm the line appears under Settings > Cellular, switch the line off and back on, restart the iPhone, and check for a carrier-settings update under Settings > General > About Apple troubleshooting guidance. That sequence clears the most common post-install faults without forcing a reinstall.
Work through the failures in order
If the phone shows the eSIM as active but data never starts, treat it like a network registration problem first. Airplane Mode can push the iPhone to reconnect, and a restart can clear a stuck session. If the destination network does not support the plan, the phone may also stay quiet until it reaches a compatible partner network.
If those resets do not restore data, go back to the data-line selection and Data Roaming steps covered in the previous section before considering a reinstall. A profile can be installed correctly and still fail to pass traffic if the handset is not using the right line for data. That is why the settings path matters more than the scan screen.
When you want a support-led checklist, use RedSim's no-signal article for a second pass through the same failure points. It is usually better to fix the routing and network settings first than to delete the profile too early, since a reinstall can mean starting over with a fresh voucher and setup again.
Managing Data Usage and Topping Up Your Plan
A good travel setup does not end at activation. Once the line is live, the phone still needs attention if the trip changes, the route gets longer, or data use starts climbing faster than expected. The practical habit is to check usage in the app and keep the travel line active only as long as it is needed.
Keep the plan usable throughout the trip
The most useful pattern is straightforward. The travel eSIM handles data, the home line stays in reserve for essential calls or texts, and hotspot use is reserved for moments when a laptop or second phone needs a temporary connection. That keeps the setup flexible without forcing another QR code.
If the plan runs low, topping up through the account is easier than reinstalling a new profile. For account management and plan handling, RedSim's eSIM management page is the relevant place to start. After the trip, the expired travel eSIM can be removed only after the traveler is sure it won't be needed again.
If the goal is a clean airport-gate setup with fewer surprises after landing, RedSim offers QR-based install, 1-click installation on compatible iPhones, and travel data plans designed for international use. For a direct setup path and ongoing plan management, visit RedSim.
 Vietnam