You've just landed, the hotel Wi-Fi is shaky, and the prepaid eSIM code in your inbox needs to work now. On Android, the fastest way to avoid wasting that code is to check whether the phone supports eSIM before scanning anything. The lasting fix often starts with a small compatibility check, not the QR code itself.
Check If Your Android Phone Actually Supports eSIM
The first mistake travelers make is opening the QR code before checking the handset. If the phone can't accept eSIM, the scan does nothing except consume time and sometimes a one-time activation code.
Start with the EID check
Open the dialer and enter *#06#. If an EID appears with the IMEI, the phone has eSIM hardware. If the IMEI appears but no EID shows up, the device can't install an eSIM profile, so the setup stops there.
That quick check matters more than most airport Wi-Fi guides admit. It prevents a traveler from burning a fresh code on a phone that can't use it, which is especially painful when the code is tied to a short trip or a one-time delivery window. For a simple compatibility pre-check, the RedSim phone compatibility guide is a useful reference point.
Watch the regional variant, not just the model name
A phone family can support eSIM globally and still ship without it in a specific market. That's why the exact model number under Settings > About phone matters, not just the brand name on the box. Samsung's Galaxy S20 and newer, plus Pixel 3 and newer, are published as supported families, but regional versions still need verification before installation.
Practical rule: if the device was bought through a carrier or in a region with mixed feature sets, check the model code before trusting the marketing name.
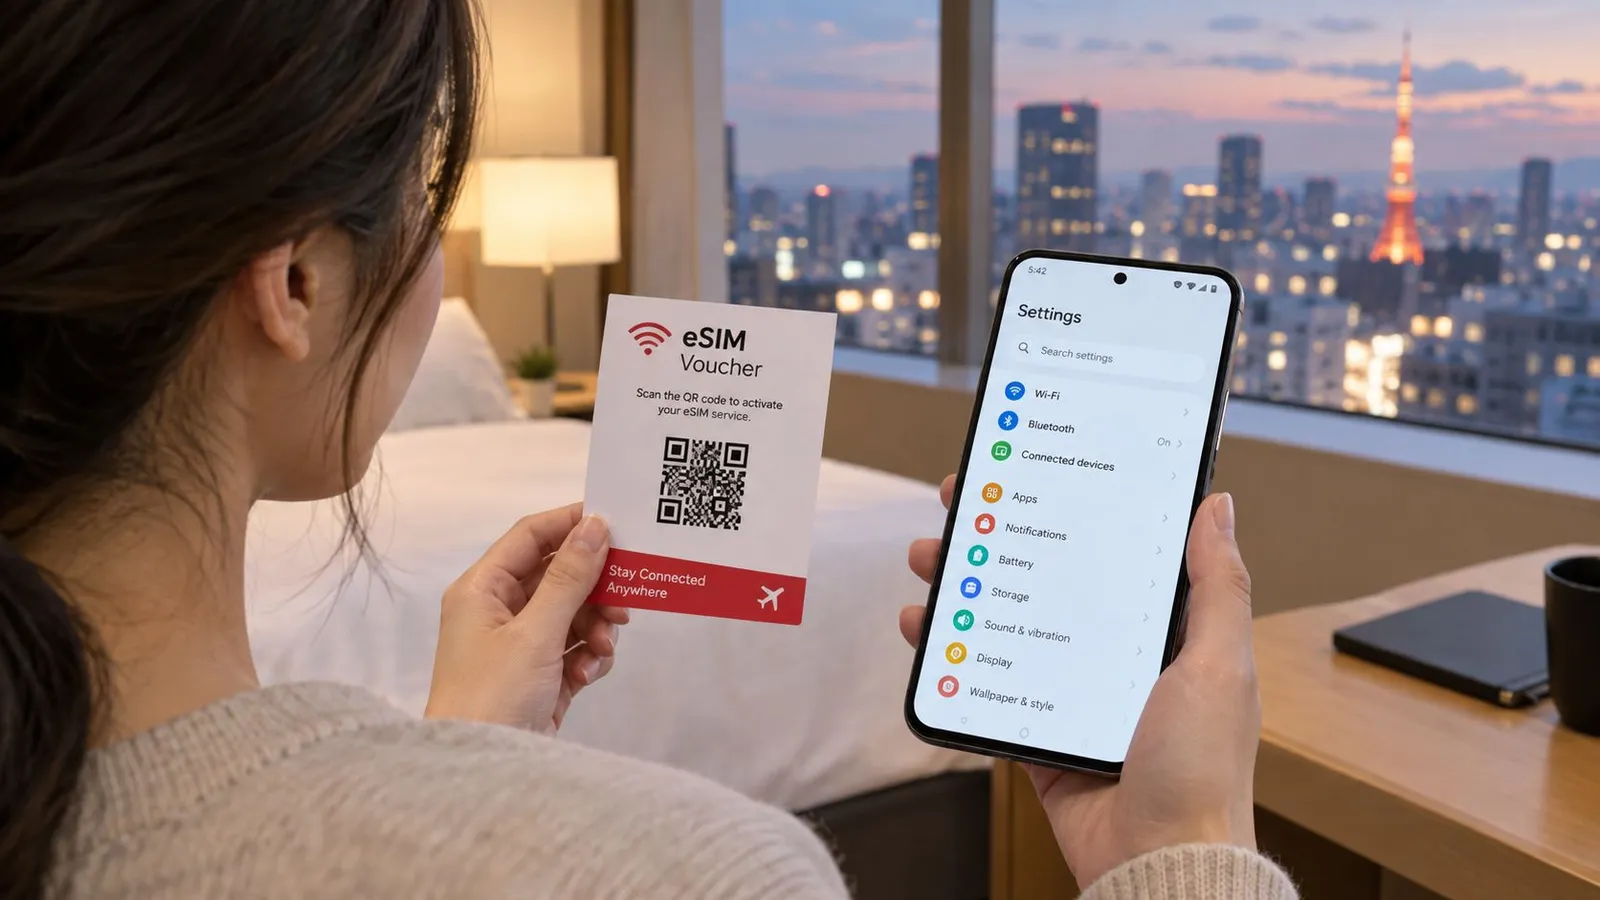
Pixel help documentation shows the main setup route as Settings → Network & internet → SIMs → Add SIM → Set up an eSIM, while Samsung devices use a similar path through Settings → Connections → SIM manager → Add eSIM Google Pixel eSIM setup path, Samsung Galaxy eSIM setup path. The important part is simple, the phone must already be eSIM-capable before the installation menu will matter.
Walk Through the Three Settings Screens You Will Touch
Android eSIM setup looks different by brand, but the working sequence is the same. Most failures happen because people jump into the wrong menu, or they stop after the QR scan and never finish the post-install prompts.
The first screen is the SIM manager
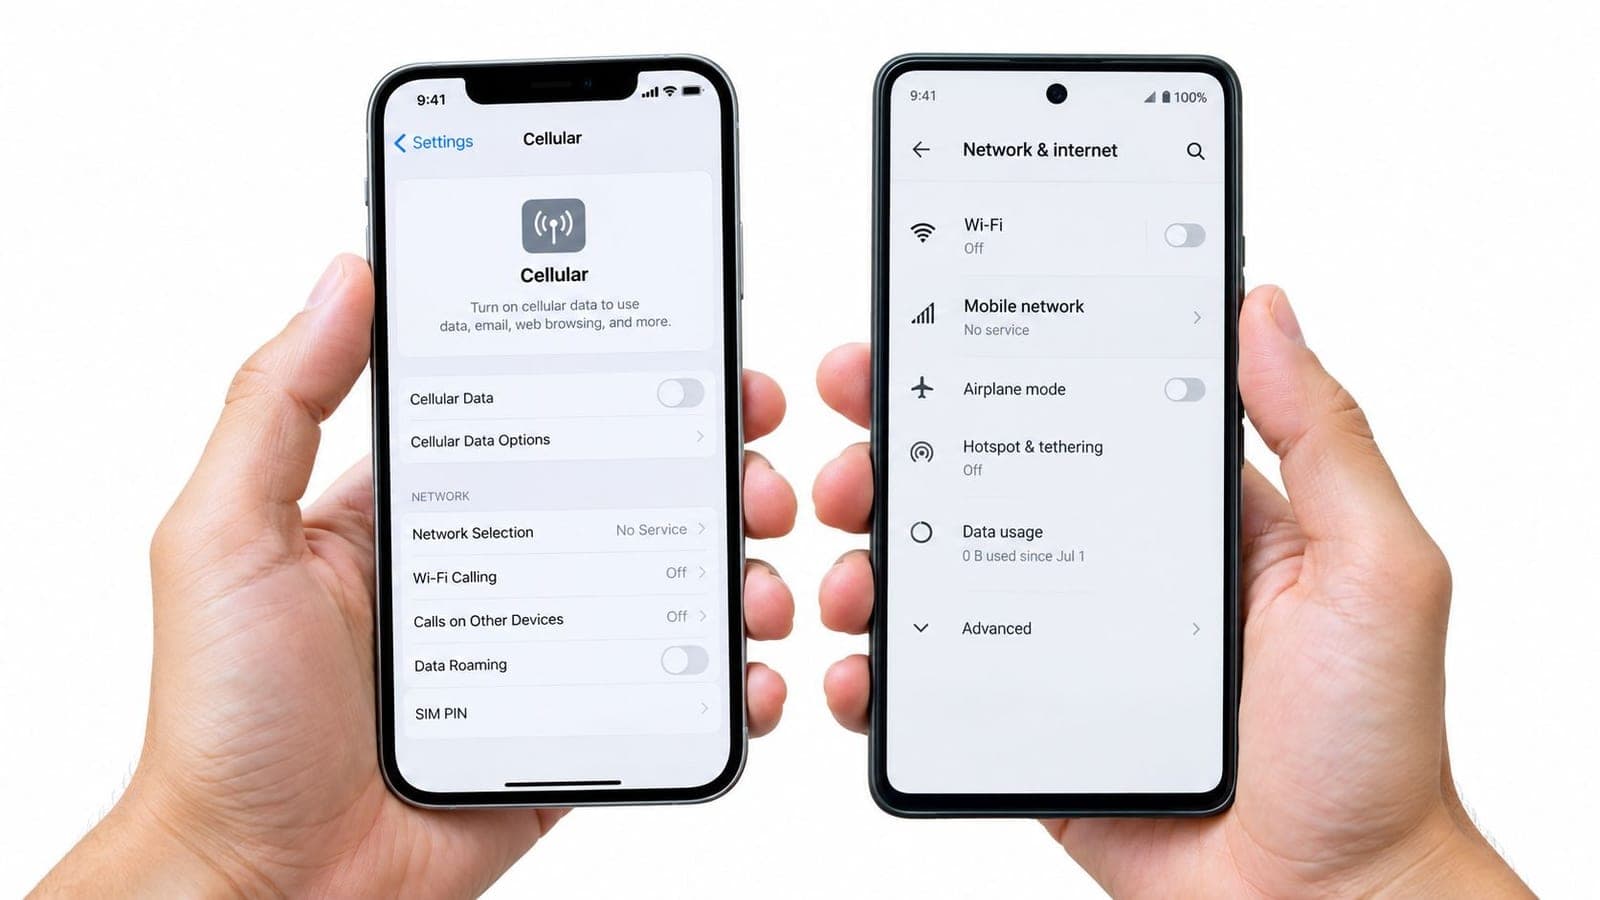
On Samsung, go to Settings > Connections > SIM manager > Add eSIM. On Pixel, go to Settings > Network & internet > SIMs > Add SIM. That's the screen where the phone lists the physical SIM and any embedded line, so it's the right place to start the install instead of hunting through mobile network menus.
The second screen is the install prompt
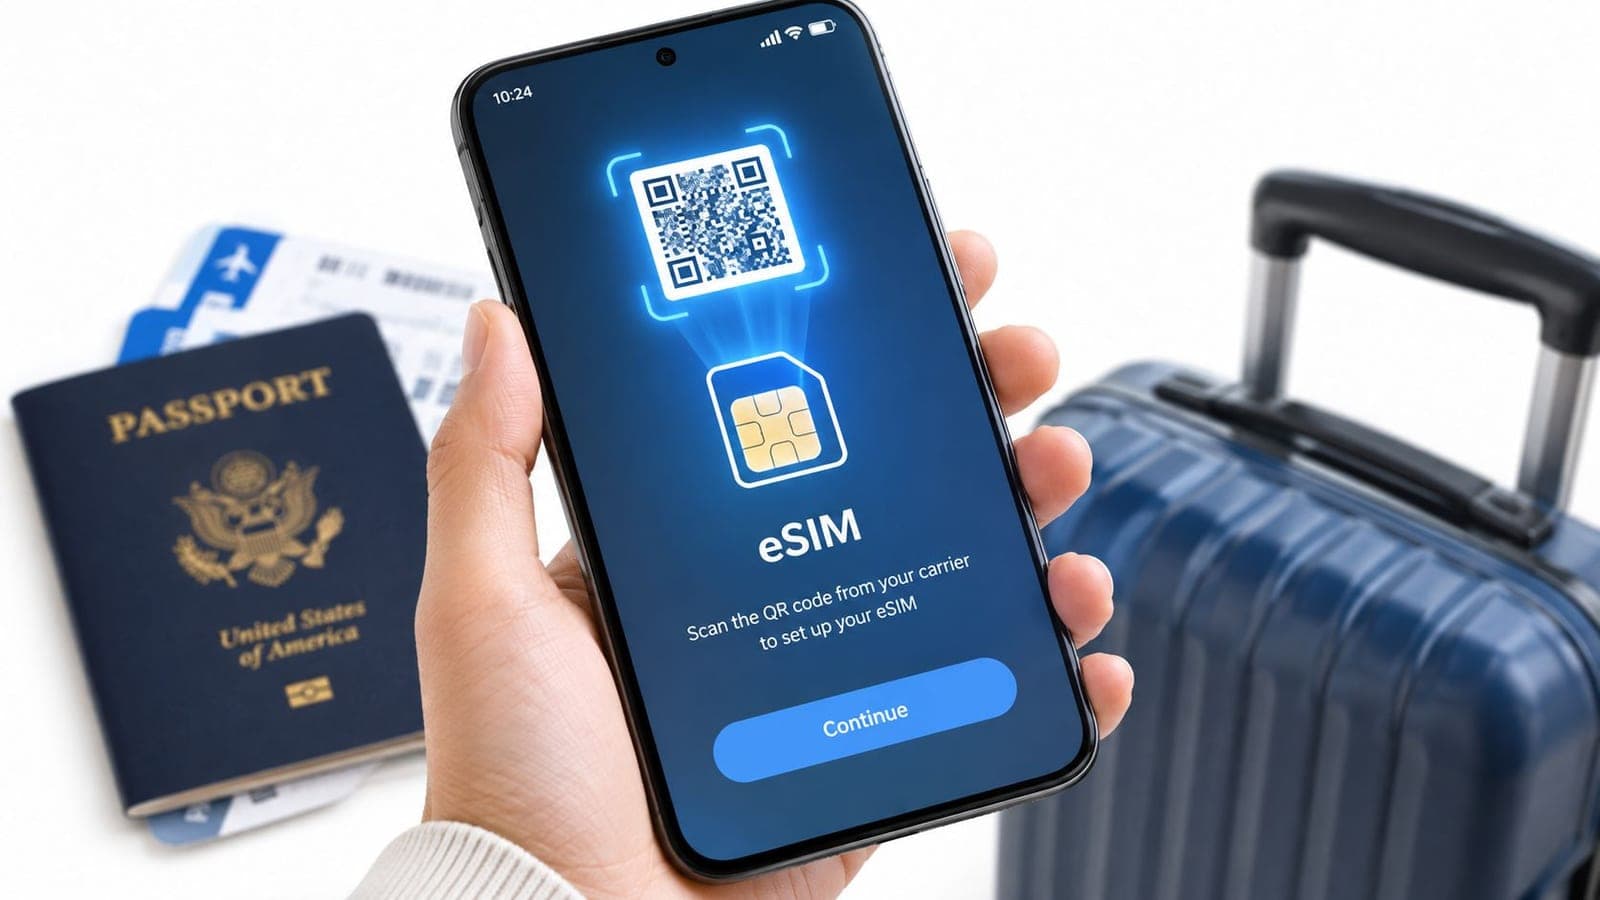
Once Add eSIM opens, the phone usually offers a camera view for a QR code or a manual field for an activation code. If the provider supports an app-based flow, the install may come from inside the app instead of the camera. RedSim also offers a one-tap in-app path on compatible devices, which pushes the profile through the same Android provisioning flow without making the traveler scan a code.
The third screen is the line confirmation
After the profile downloads, Android still expects a final confirmation screen. That's where the new line gets turned on and assigned for calls or data. If the phone stalls during setup, toggling airplane mode off and back on after a few seconds often forces the network registration to retry cleanly.
A clean install is rarely just “scan and done.” The line has to exist, be enabled, and be selected for data before it behaves like a working travel SIM.
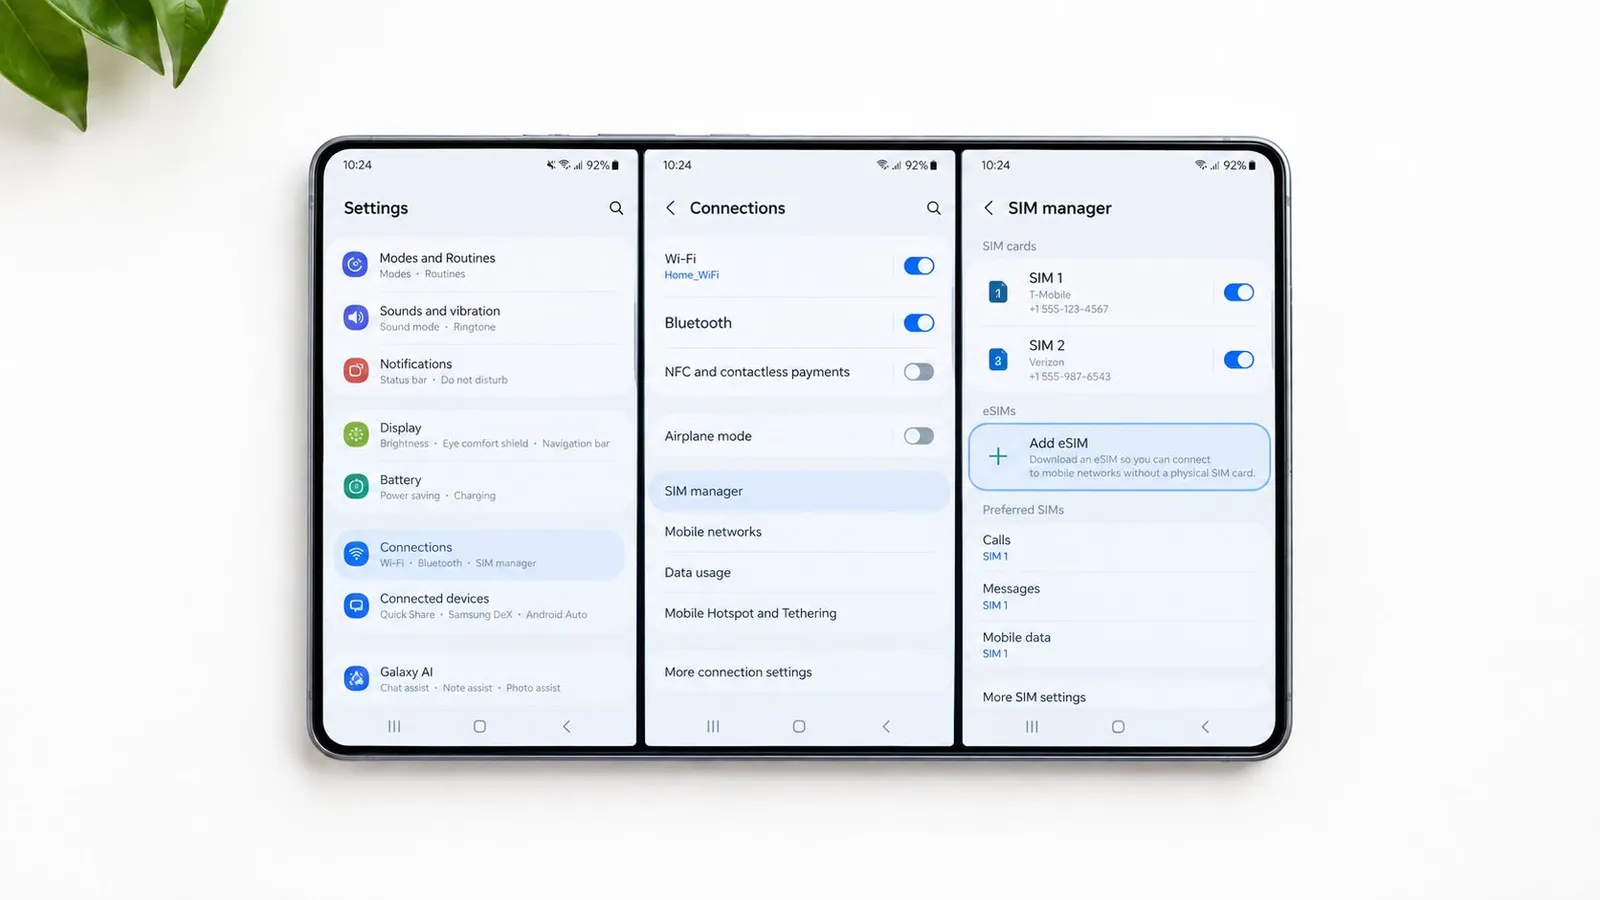
Samsung users usually stay inside SIM manager, while Pixel users stay inside SIMs, but the logic is identical. The screen names differ by brand, the job does not. For a straight install walkthrough, the RedSim setup page gives the basic Android path without adding clutter.
Configure the New eSIM Line After Installation
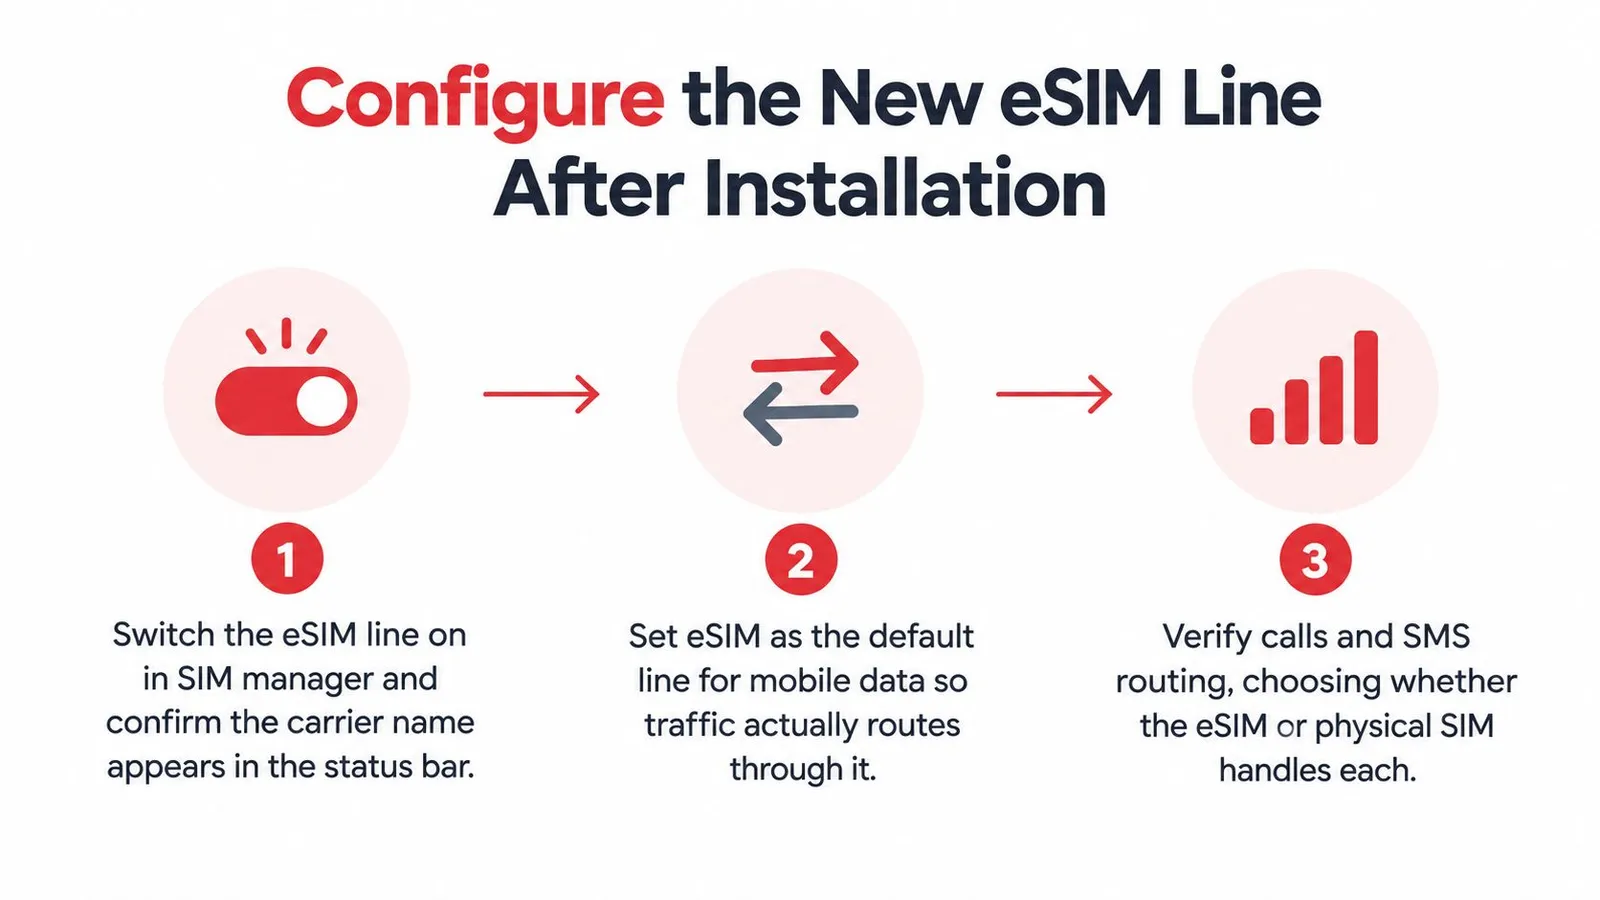
Installing the profile is only half the job. If the new line stays off, or the phone keeps sending data through the home SIM, the handset may look connected while pages still refuse to load.
Turn the line on, then turn roaming on for that line
Open the new eSIM's settings and switch the line on. Then find the roaming toggle inside that same eSIM profile and enable it. Android hides this inside the line-specific settings, not in a global roaming menu, so it's easy to miss when the user is tired, offline, and standing at baggage claim.
Move mobile data to the eSIM
The next step is the one that trips up even experienced users. Set Mobile data to the eSIM line instead of leaving it on the physical SIM. If that stays on the home SIM, the phone may still show bars but won't route travel data the way it should.
Keep the line readable
Rename the line to something obvious, like Japan Trip or Europe Data, so dual-SIM decisions stay clear. That sounds minor until the phone has two active lines, one for calls and one for data, and the traveler needs to check the right one in a hurry.
Useful habit: if the network registers but data won't move, check the eSIM's own roaming toggle before changing anything else.
For APN work, RedSim usually auto-populates the values, but some networks still need manual entry from the carrier's welcome details. The manage eSIMs guide is a good reference once the profile is already installed and the user needs to organize which line handles traffic.
QR Code Install Versus RedSim One-Tap Install
The choice isn't just convenience, it's failure recovery. A traveler in a taxi or at a gate cares about whether the install works the first time, whether it can be repeated, and whether a bad scan means waiting for a new code.
| Criteria | QR Code Install | RedSim One-Tap |
|---|---|---|
| Setup path | Scan the carrier QR inside Android settings | Open the app and tap install |
| Connection need | Works with the activation details already in hand, but Android still needs stable setup conditions | Needs internet to start |
| Failure recovery | If the scan fails, the code may need to be reissued | The profile can be re-issued from the app dashboard |
| Re-install behavior | Many QR codes are one-time tokens | Reinstall flow is handled from the app |
| Best fit | Travelers who already have the QR and want a standard setup | Travelers who want a faster app-driven flow |
QR installation is universal and familiar. It's also unforgiving when the code has already been consumed or the camera misreads the activation string. That's why some travelers prefer app-based provisioning, especially when they're changing phones or moving fast between airports.
The trade-off is simple. QR codes are a standard, but they're less forgiving if the first attempt goes sideways. One-tap install is smoother when the provider supports it, but it depends on a live connection at launch.
If a traveler needs the code resent, the QR code delivery help page is the kind of support article that matters in practical situations, because the issue is often logistics, not the Android menu itself.
The Silent Settings That Block Activation
A lot of Android eSIM complaints are really settings problems. The profile downloads, the icon appears, and the phone still won't pass data because one background switch stayed wrong.
The QR code is often single-use
Many activation codes are consumed on first use. If the same QR is scanned again after a failed install or a reset, it may no longer work. That's why checking whether the eSIM is already sitting in the SIM list is smarter than retrying the same code over and over.
The phone must be unlocked
A locked handset can reject new operator profiles even when the QR itself is valid. That issue shows up as a setup problem, but the underlying block is carrier policy, not Android. If the phone is tied to one operator, another SIM won't install cleanly.
APN can still matter
In some countries, the APN needs to be typed in by hand before mobile data will work. When that happens, the eSIM may appear installed and still fail to move traffic. The right APN details are usually part of the provider's activation email or app screen, and they need to be entered exactly as given.
Standout point: an installed eSIM that doesn't pass data is often missing one of three things, roaming, default data selection, or APN.
The common mistake is to assume the scan itself was the whole job. It isn't. The profile, the activation state, the roaming setting, and the data line all have to line up before the phone behaves normally.
Fix the Most Common Android eSIM Errors
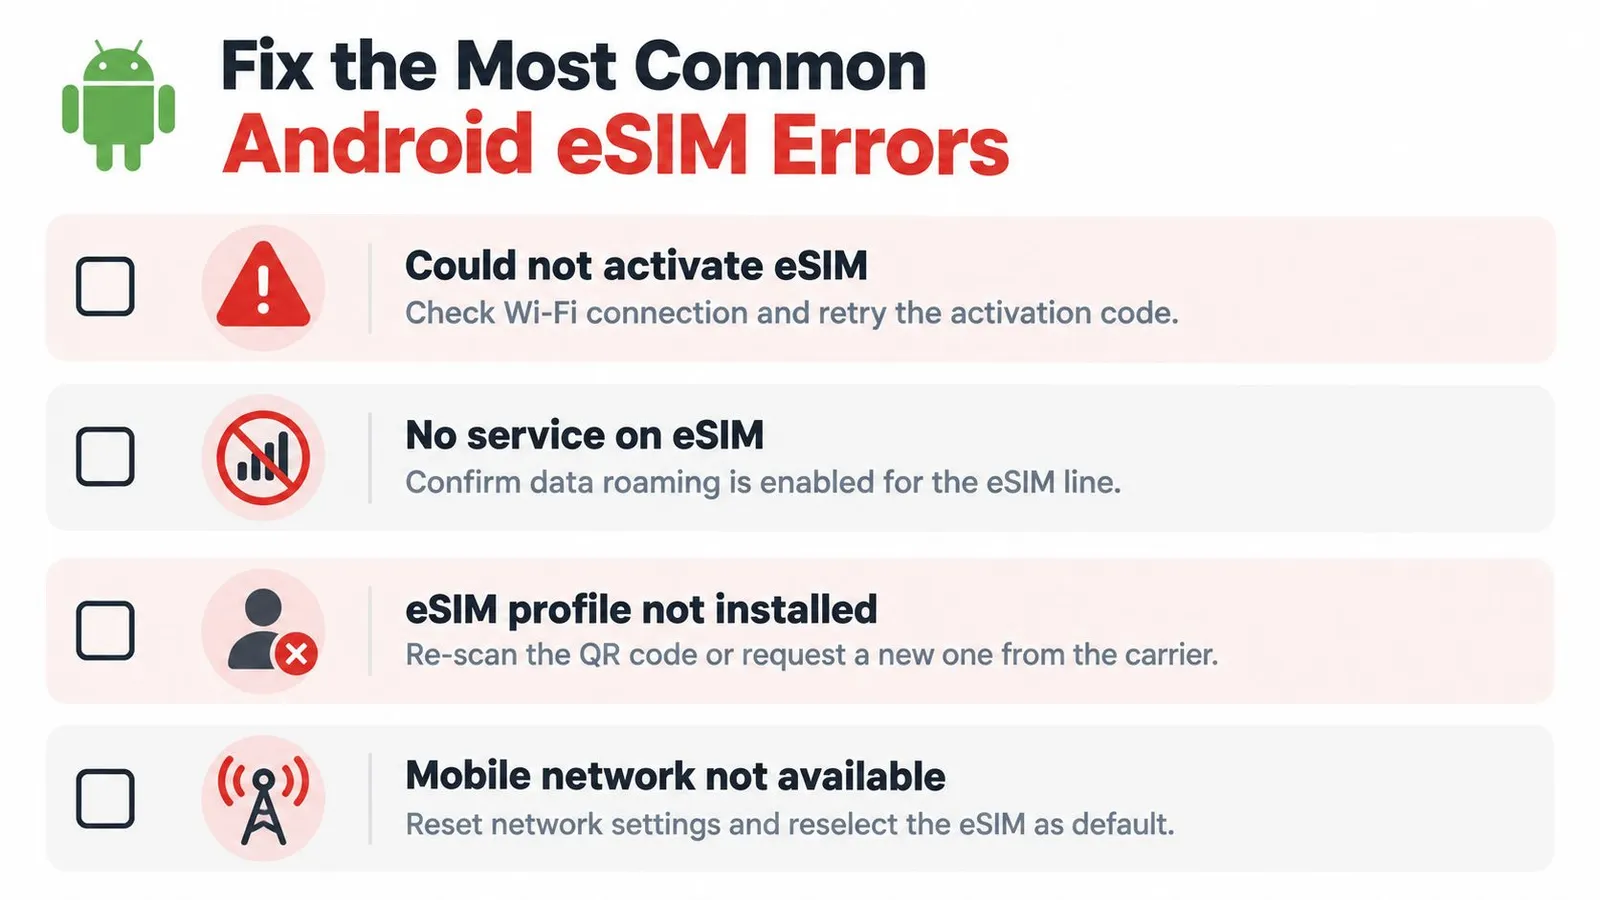
The error labels vary by brand, but the repair logic stays the same. Start with the simple resets first, then move toward profile and network cleanup.
Quick checks first
Restart the phone. Then toggle airplane mode on for about ten seconds and turn it back off. After that, confirm the eSIM line is enabled inside Settings > Network and internet > SIMs or the equivalent Samsung menu. These are the fastest fixes because they clear stuck registration states without touching the rest of the device.
Then repair the profile, not the whole phone
If the line still won't activate, delete only the eSIM profile and scan it again. That's safer than resetting the entire handset, because the rest of the phone's settings stay intact. If the destination network doesn't support the preferred mode well, switching from 5G to 4G/LTE can also stabilize service.
Finish with the deeper checks
If data still won't move, re-enter the SM-DP+ address and activation code manually from the carrier email. Then rebuild the APN if the phone needs one. A foreign physical SIM can also confirm whether the handset is unlocked, which saves time when the issue is being blamed on the wrong layer.
The slow data speeds troubleshooting page is useful once the profile is active but performance still feels wrong. That usually means the install worked and the phone's network settings need a second pass, not a fresh code.
Your Pre-Departure eSIM Checklist
The easiest installs happen before boarding, not after landing. A few minutes of prep prevents the usual airport scramble, especially when the traveler is carrying a regional Android variant.
- Check compatibility early: Dial *#06# and confirm an EID appears, then verify the exact model number under Settings > About phone.
- Confirm the handset is carrier-free: A carrier-locked phone can block a new profile even if the eSIM hardware is present.
- Keep the setup connection ready: Stable Wi-Fi matters for QR scanning and profile download, especially during the first activation.
- Save the install details safely: Keep the carrier QR code or app access available before leaving home, because QR codes are often one-time use.
- Clear a slot if needed: If the phone already has multiple lines, make sure there's room to add the new one cleanly.
- Expect APN differences: Some regional models still need manual APN entry, so keep the carrier's activation details reachable.
The actual takeaway is simple. Check the phone first, scan second, and configure the new line before assuming the trip data is live. That sequence saves more failed installs than any camera trick ever will.
RedSim gives travelers Android eSIM delivery through QR code or in-app installation, which fits the exact setup flow described above. It also supports travel data plans for many destinations, so users can prepare before departure and install on landing with fewer moving parts. Visit RedSim if a trip needs a digital SIM that can be set up before the plane even reaches the gate.